1. Creating your document and automating your first clause
Hello and welcome to this tutorial series for clause authors!
As explained in the introduction of this series, we will be automating the clauses of a basic consultancy agreement and find out along the way how ClauseBase can turn static clauses into flexible, intelligent, reusable clauses.
Create a new document
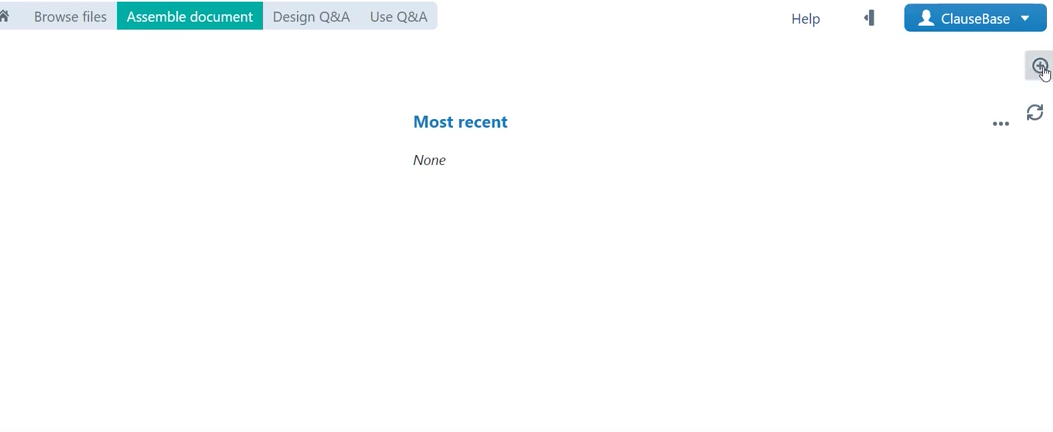
So, let’s get right to it, you can open a new document in your ClauseBase account by navigating to the assemble document menu at the top of your screen and then open a new document by clicking the plus icon in the top right-hand corner.
Save the document
So now we are greeted with an empty document which we will first need to save.
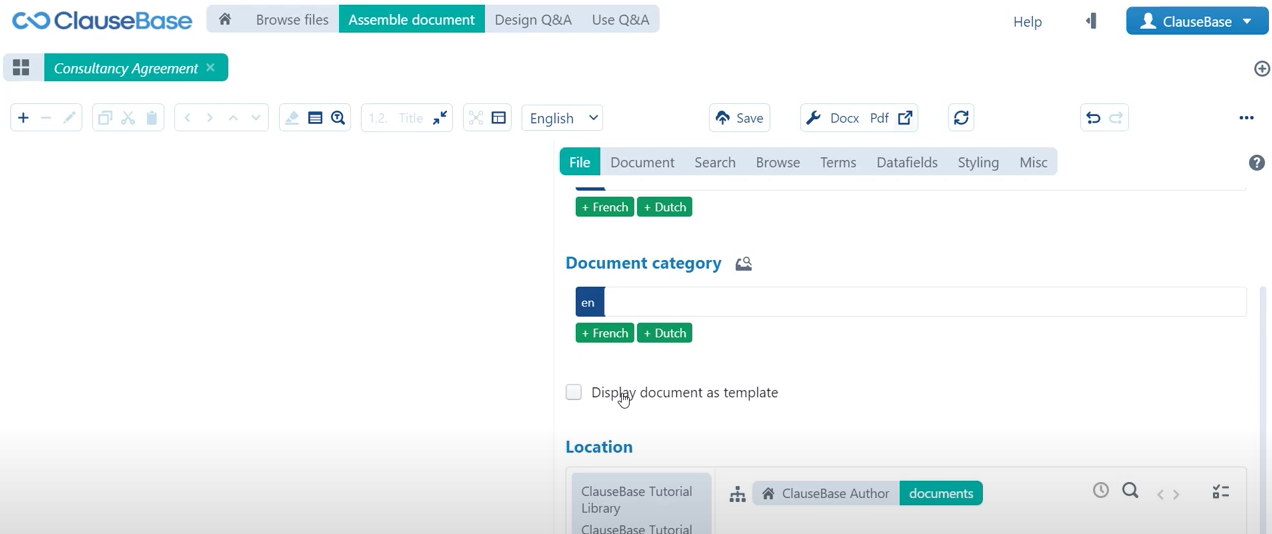
We can do so by navigating to the file tab in the operations panel. Here we can fill out a document name to start with (this is how this file/this document will be portrayed in the actual library). We can choose something basic, like for example consultancy agreement. We can then optionally also designate a certain category, this is primarily useful when you have multiple different documents, in multiple different domains and need a clear indication of which document pertains to which domain. We will skip this for now.
You could also designate whether you would like this document to be displayed as a template. That is primarily useful to be able to distinguish between concrete contracts or legal documents that were generated from the basis of a template and those templates themselves. In this case we are in fact creating a base template, so we will check this box.
Designate a location
And then finally we can also designate a location in the library for this document.
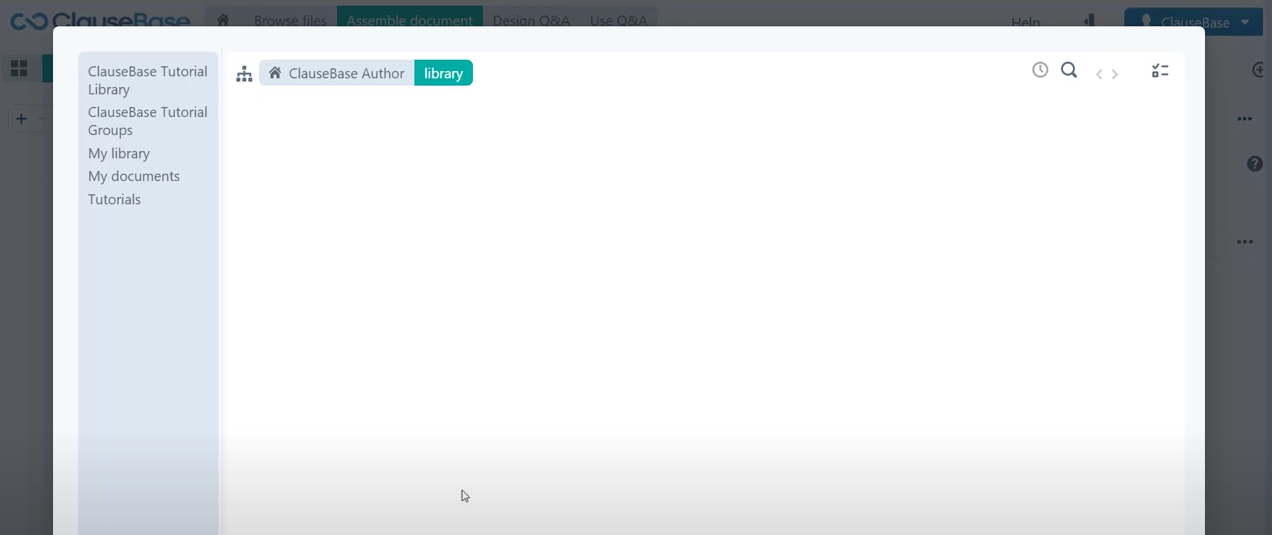
📂 The default folder that is selected here is the “my documents” folder, and that will be sufficient for now.
📂 You can also store it in a certain group library. Group libraries are little private corners of the library that are available only to a specific team or specific department.
📂 There is also the “my library” folder which is primarily intended as a personal storage space for clauses and not necessarily documents, because of course we also have the “my documents” folder. That is exactly where we will save this document, by clicking the “save document” button at the top here.
Document Title
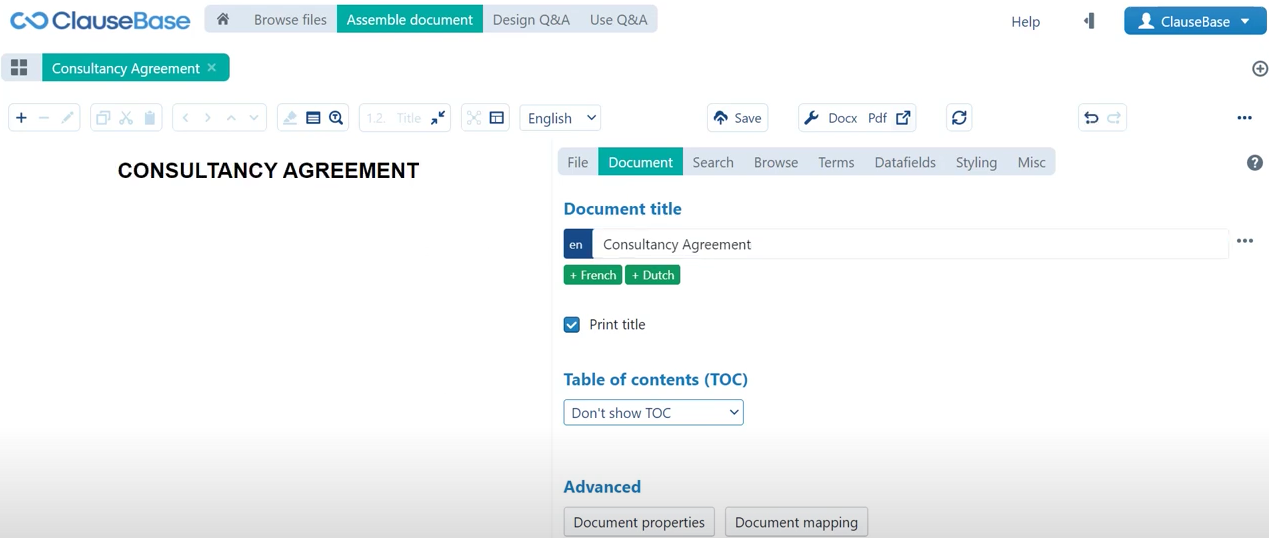
Now, of course, we have created this file but there is still no content present. One of the first things that we can do to amend this, is go to the “document” menu in the operations panel and fill out a document title. This is different from a document name under the file tab, because that is how the document is displayed in the library. The document title is essentially the title that is going to appear at the top of the document and that corresponds to the default style that you have set up to that end. For us that is going to be quite easy, that is going to be “consultancy agreement“. Because of course if we look at our base document, we can see that it also features the title “consultancy agreement” right at the top.
And with all of that out of the way it is now time to create our first clause!
The fortunate thing about ClauseBase is that clauses are flexible, and you can change their location at the drop of a hat, so you do not have to start automating a document from the top and then work your way down. You can just start with a basic easy clause just to warm up a little bit. That is exactly what we will do, if we take a quick look at our base document here and scroll down a little bit, you will see that there is this severability clause which is a fairly easy clause to start off with, and that is the one that we will take first.
New Clause
So, I will quickly copy the contents of this clause while we are in the document and then go back to the ClauseBase menu. Now to create a clause you first click the +-icon in the top left-hand corner. You are presented with three options here:
1️⃣ Definition list: you can ignore this for now, we will come back to that later.
2️⃣ Ad hoc-clause: this is a clause that is very much document-specific, meaning that it will not show up in the library, it is not going to be able to be reused across other different documents. It is native to this document only.
3️⃣ Library clause: these are clauses that are stored in the library, and which can be reused.
Usually, you will want to use library clause, because about 90 to 95 percent of clauses in ClauseBase are library clauses. So that is exactly what we will do here as well, we will select library clause and the first thing that we will see is another pop-up menu like the one where we decided on the location of the document in the library.
Choose a folder
Here ClauseBase is asking us where you want to store this clause that you are about to create and that is where “my library” folder comes into play. The “my library” folder is a general folder where you can store your clauses but in order to make it more easily navigable, make it easier to retrieve the proper content, you can also create an entire folder structure to assist users and yourself in navigating to the right place.
So, what we will do is we will create a folder here, for now we will focus on a regular folder. We will come back to all these different types of folders at a later chapter, and we will click regular folder now. Of course, since we are creating a severability clause, we will need to store this clause in a folder that makes sense. Now since severability is typically considered a boilerplate clause, we will simply call this folder boilerplate.
Click create a new folder and then we can select this folder, click select folder in the bottom right-hand corner and now we have decided on a location for this clause. You will immediately see that we have this new edit menu in the operations panel, there is this new tab in this edit menu for our new clause and on the right-hand side you can see that there is all manner of intelligence that we can add to this clause. Most of that we will be looking at later in this tutorial series.
Add content
For now, the important ones that you need to consider are:
- The file name:
- Is how the clause will be displayed in the library.
- For the file name we can choose something simple like for example just severability. Alternatively, if we add another severability clause, an alternative for example which is a bit lengthier we could say that this clause is named severability short, whereas the future clause will then be named severability long. But since we do not have any alternatives like that, yet we will simply suffice by writing severability in the file name.
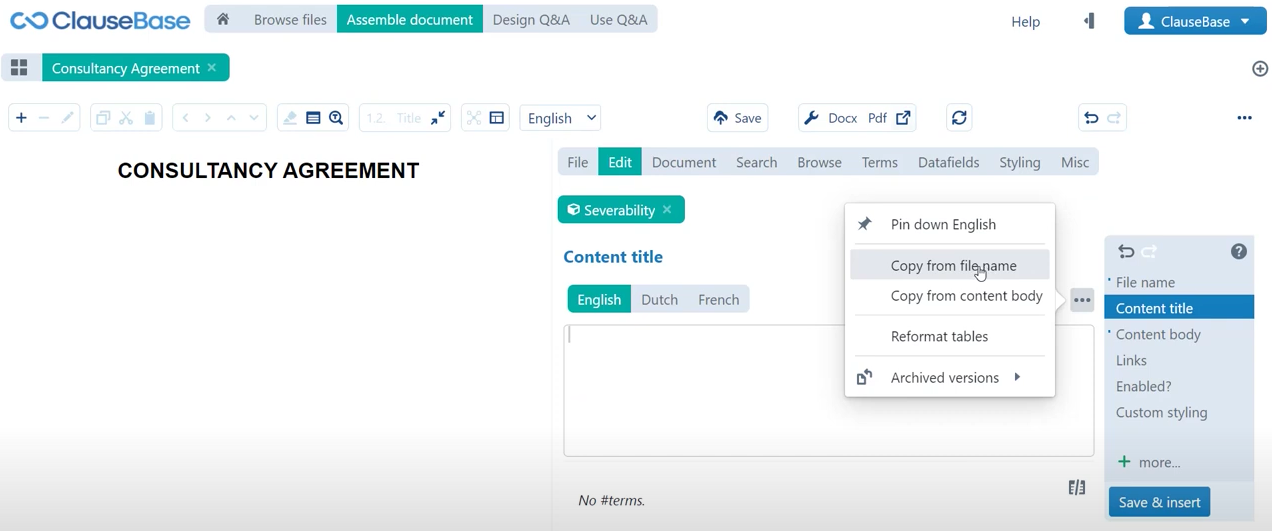
- The content title:
- Is the title that we built will be displayed for this clause in the actual document.
- As you saw earlier in the source document, we can see that the title is simply severability, so we will be writing the exact same thing in the content title. A neat little trick is that you can also just copy your content title from the file name and then it immediately shows up here in the content title field.
- The content body:
- Is of course the body text of the clause.
- Finally of course we need to copy the text from Microsoft Word into the content body field which as you know we copied earlier, and so we will just paste that now.
If I click save and insert, then this is the actual moment when the clause is created and when it is also stored.
The first thing that you will notice is that on the left-hand side of the screen, the clause is now readily available inside of the document and that it of course has administered the proper numbering already. So, it knows, even though here on the right-hand side the clause number is still 8.1, because that is what the location was in our previous source document. It knows that it needs to change that to 1.1 because of course there are no other clauses in the document.
You will also see that ClauseBase recognizes that this paragraph is in fact a paragraph number, but it also knows to construct its own numbering based on what makes sense for this particular document.
💡 So, a useful trick that we can already share here is: whenever you are creating clauses like this, you do not know up front which location that clause will take in the actual documents or multiple documents that they are going to be used in. So, it is important to consider the clause in abstract. The only thing that we do know is that this is paragraph one. So, if we again save this clause in the library to update our interactive preview you can see that the numbering stays the same, and so it is good practice to always use this kind of numbering format.
You can then also add new paragraphs, like for example we can have one at the same level, which is paragraph two, another paragraph which is paragraph three, and we can even go a couple of levels down paragraph 3.1, 3.1.1 etc. And if we save in library to update this clause, you can see here that the appropriate numbering with the appropriate styling is applied to different subclauses of various levels.
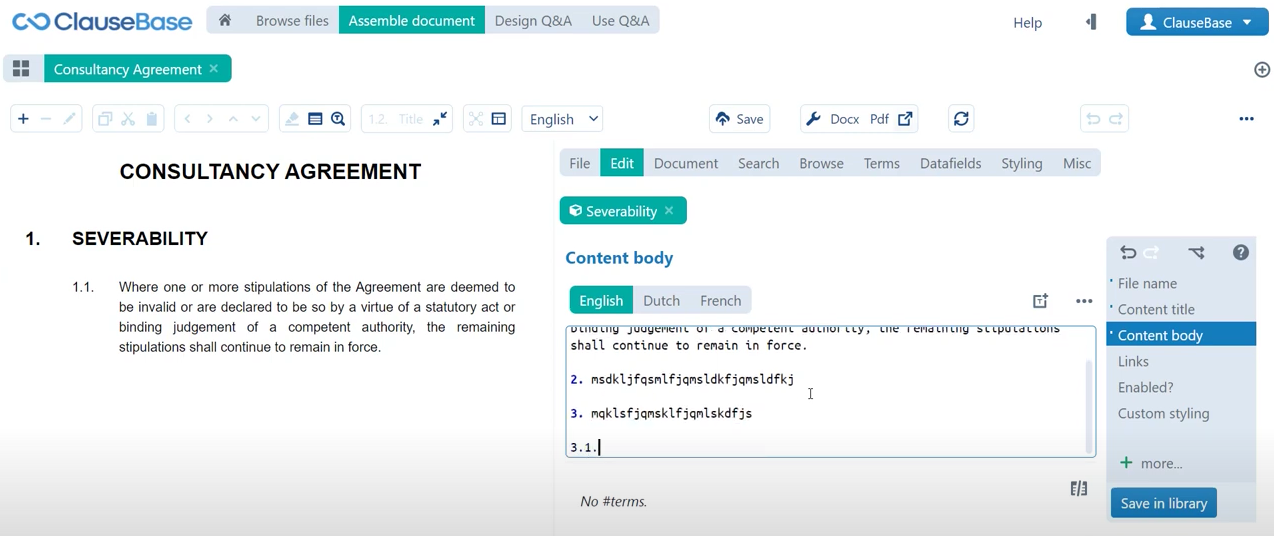
It is good practice to always use this kind of structure in your clause.
✅ With all of that done you have essentially created your first basic clause.
⏭ Next on we will find out how to add another layer of flexibility outside just from the numbering in the form of flexible terminology.
Do you want to learn more about this chapter? Check out our help page on introduction to clauses