Part 3: Stacking the clauses
Now that you are familiar with the basics of the document assembly mode in ClauseBase, let’s start drafting our non-disclosure agreement.
Browse functionality
- click Browse in the operations panel.
- Click Tutorials on the left-hand side of the prompted menu.
- Double-click the “document assembly” and “clauses” folders.
This will lead you to the following screen:
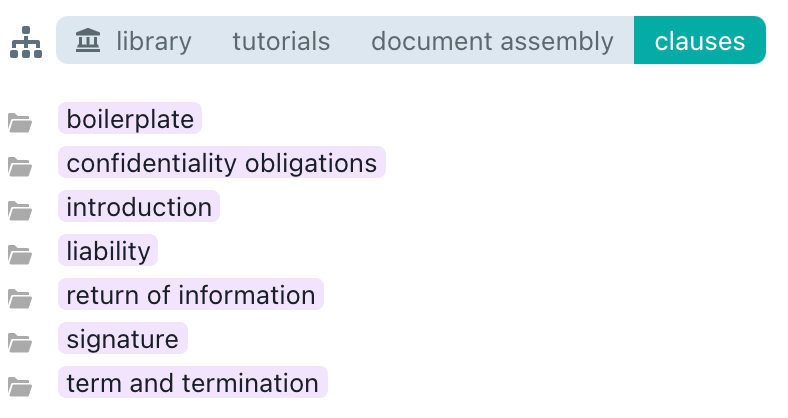
From this screen, you can start looking for the perfect clauses. Let’s start by implementing some introductory clauses.
- Double-click the introduction folder.
- Select the identification of the parties clause.
- Click the
 icon and click in the prompted menu.
When you select a clause, you will see relevant information appear on the empty space beneath the browsing menu, allowing you to make an immediate decision on whether the clause is suited to your needs. This information includes the actual text of the clause, and may include a description and certain attributes like length, formality, and favoured party.
At this point, you will see the clause pop up on the interactive preview on the left-hand side of your screen. If you so choose, you can immediately start filling out variable information like party names and addresses in the allotted boxes. Keep in mind, however, that this is to be a template document and it is therefore not desirable to already fill out concrete information.
Now insert the clause titled recitals in the same folder:
- Select the recitals clause.
- This time, a purple
 icon will appear alongside the green icon. Click the purple icon and click
  to insert the clause below the clause identifying the parties.
The difference between the purple icon and the green icon is that using the purple icon will also implement a title given to that clause. The green icon only inserts the text of the clause.
Search functionality
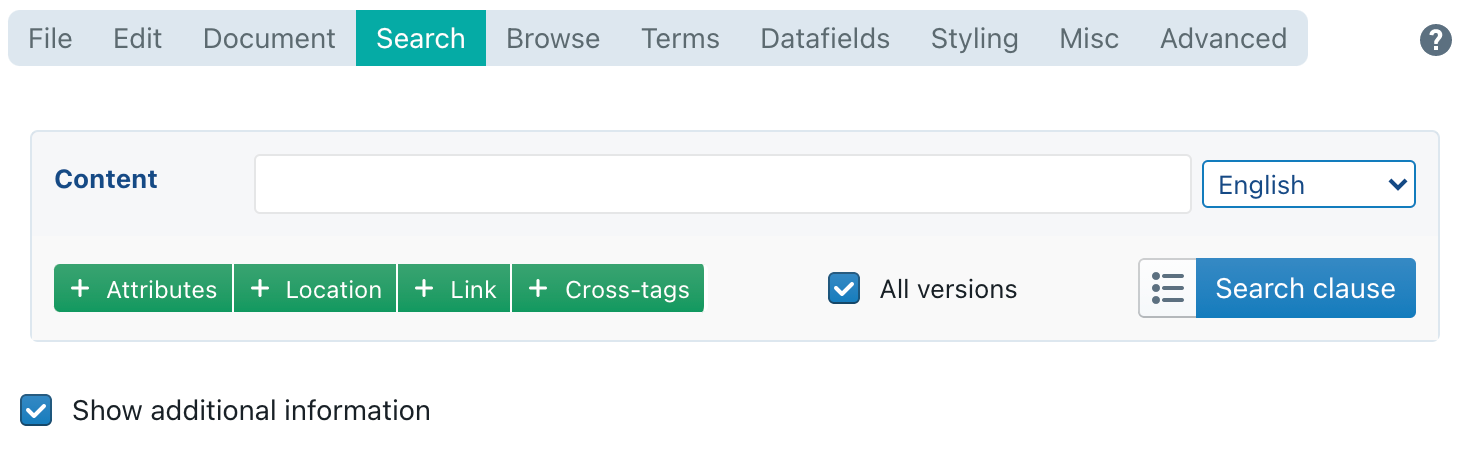
Browsing through your library is just one way to find the perfect clause. ClauseBase also comes built in with a powerful search engine that allows you to search on content, clause attributes, concepts, and location within the library.
Let’s try this by clicking in the operations panel. You will be greeted with the following screen:
Type in “confidentiality” in the content bar and click  . Scroll down and select the clause titled mutual confidentiality obligations. Click the purple
 ![]() icon next to the title and select .
icon next to the title and select .
In the interactive preview on the left-hand side of the screen, you will see that the clause is struck through in red. This means that it is currently not enabled. You can see why that is the case by going to the Datafields tab of your operations panel and click the question Why is this clause disabled?.
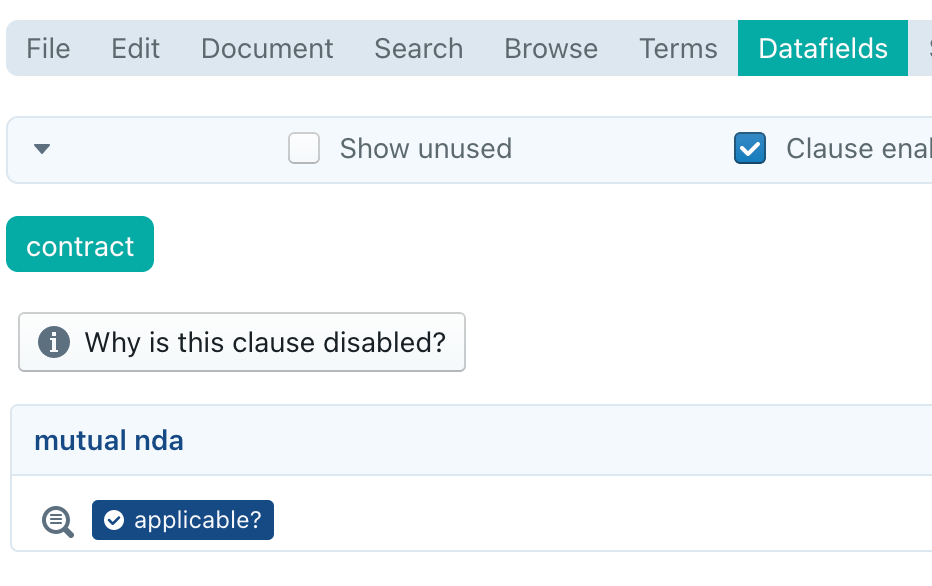
ClauseBase will then explain that the datafield asking whether a mutual NDA is applicable or not (i.e.: whether this NDA is mutual or unilateral). Since this clause is only shown when the answer is “yes”, it is currently disabled.
From the same list of search results, try inserting the clause titled unilateral confidentiality obligations under the mutual confidentiality obligations clause you just inserted. The reason this clause is not disabled is because it is also subjected to the question of whether or not the NDA is mutual but the required answer here is “no“.
The two clauses you just inserted are alternatives of one another but because they have been made mutually exclusive with the help of the condition mutual NDA – applicable?, they will never both show up in the document at the same time.
Non-disclosure agreements traditionally also feature a standard set of exceptions to the confidentiality obligations. To find a clause containing these exceptions, search for confidentiality exceptions in the content bar. You should find the following two clauses from among your search results:
- a clause titled exceptions to confidentiality obligations
- a clause titled mandatory disclosure (exception to confidentiality obligation – short)
Add both these clauses below the clause you previously inserted (unilateral confidentiality obligations).
Adding the remaining clauses
To add the remaining clauses, it is best to return to the Browse tab of the operations panel and navigate to the tutorials > document assembly clauses folder again:

Here, you see that you can still add clauses on
- boilerplate provisions
- liability
- return of information
- signatures
- term and termination
Add them now using the techniques set out above. You will note that:
- Two clauses on return of information are alternatives of each other (so you should only choose one for your contract).
- Three clauses on term and termination are alternatives of each other (so you should only choose one for your contract, for the purpose of this tutorial, choose the clause named commencement date + duration + termination by written notice + survival.
- The liability clause on accuracy of confidential information can be considered optional.
- The folder on boilerplate provisions features a “title clause” which has only a title and no content body and which can be recognised by its distinct green highlight and
 . These title clauses make it easier to group disparate provisions under a single heading by inserting them as a new clause, and then adding the desired boilerplate provisions as sub-clauses to this new clause. There are two ways to add sub-clauses to an existing clause. Try them both out with the clauses located in the boilerplate folder:
 - For the “entire agreement” clause: click the purple icon and select . Then select the clause you just inserted by clicking on it on the left-hand side of your screen (it will be highlighted in blue), and then use the right indentation arrow
 in the document toolbar to position it as a sub-clause of the clause above.
 - For the “applicable law and competent court” clause: select the clause on the left-hand side of your screen under which you want to position the new clause as a sub-clause (in this case, the title clause “Miscellaneous”). Click the purple icon and select
 or
or  if there is already a sub-clause present.
- For the “entire agreement” clause: click the purple
- the folder on boilerplate provisions also features two clauses related to assignment. For now, only choose the one titled assignment not allowed and add it as a sub-clause to the Miscellaneous clause. We will come back to this later.
If at any point in time during this exercise you want to undo or redo an action, click the undo/redo arrow icon ![]() in the top right corner of your screen.
in the top right corner of your screen.
Saving the document
Now that you have assembled all the clauses, it is a good time to save your document. Before you can save the document, you should give it a file name:
- Click on the File tab in the operations panel.
- Navigate to My documents in your personal library.
- Give your document a name, such as tutorial NDA.
To save the document, you can click  inside the file tab of the operations panel. Alternatively, you can also click
  in the document toolbar.
Congratulations! You have just built your first document. It is not finished yet – but the foundations are there. Great work.
Click next when you are ready to go to Part 4 “Fine-tuning the document”.