Part 5: Adjusting the look and feel
To see what your template would look like in MS Word, you can click on the  button in the document toolbar. Your browser will then download a .DOCX-file, and — depending on your browser configuration — open that file in MS Word. (If not, then please check your downloads, and open the resulting .DOCX from there).
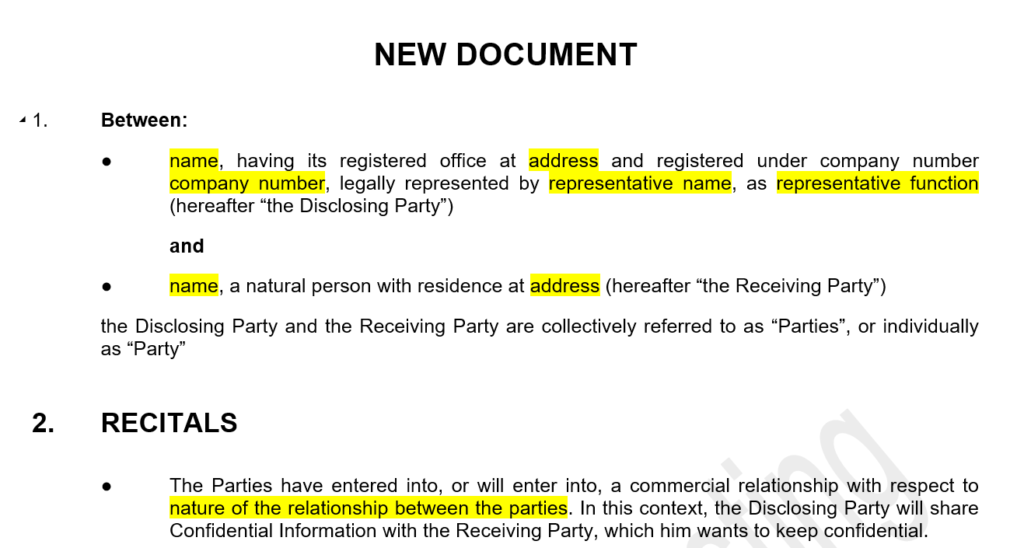
Several fields with missing information are highlighted in yellow. For now, you should leave them untouched, as you are creating a template contract and such information will only be filled out when a concrete contract is drafted on this basis.
Removing numbering
The introductory paragraph (1.) should not contain any numbering in the template you are creating. This is not an error in these clauses, because these very same clauses may end up in other documents where numbering could have been relevant.
Removing the numbering is actually very easy: click on the clause to select it, and then click on the ![]() toggle in the document toolbar. This will remove the numbering from all the headings in the selected clause.
toggle in the document toolbar. This will remove the numbering from all the headings in the selected clause.
Removing the title of a clause
The “miscellaneous” clause that contains the boilerplate clauses features a number of sub-clauses that have their own titles. Let’s try removing them now.
To do so, click on a titled sub-clause to select it, and click on the  toggle in the document toolbar. Repeat this exercise for each titled sub-clause. Above, for the purpose of this tutorial, you were instructed to insert these clauses together with their title, by clicking on the purple
 ![]() next to the title of a clause. Of course, if you do prefer to eliminate sub-clause titles, it would have been more efficient to insert just the body paragraph, by clicking on the
next to the title of a clause. Of course, if you do prefer to eliminate sub-clause titles, it would have been more efficient to insert just the body paragraph, by clicking on the ![]() next to the relevant body paragraph.
next to the relevant body paragraph.
Changing the document title
When you exported the document and while you were drafting it with the help of the interactive preview on the left-hand side of your screen, you likely noticed that it featured the title “NEW DOCUMENT”. Let’s change that.
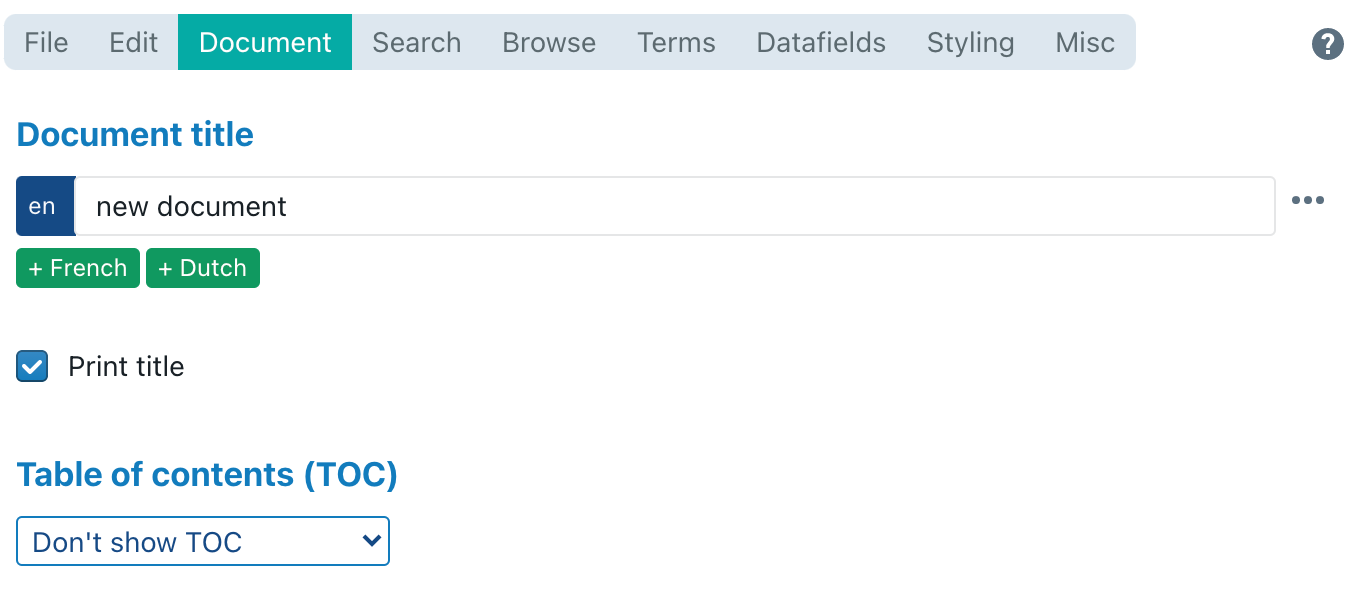
- Click on the document tab of the operations panel.
- Change the document title to Non-Disclosure Agreement.
Changing to your preferred language
Because of ClauseBase’s instant translation functionality, you can now choose to translate the document to your language of choice.
Export
When you are satisfied with the document (as shown in the interactive preview on the left-hand side of the screen), click  or
or  , depending on the format you want to export your document to. You will note that all variables that are not yet filled out (names, addresses, etc.) are marked with a yellow placeholder. This is a handy tool for making sure that you’ve filled out all relevant information in ClauseBase. Alternatively, you can use these placeholders as reminders when you continue drafting in Word.
Make sure to save your work before closing the document and experiment with any additional clauses your organisation’s clause authors may have uploaded!
Congratulations on completing this tutorial! You are well on your way to mastering the basics of ClauseBase. If you are an advanced user, the next step would be to start creating your own clauses by completing the tutorial for Clause Authors. If you have already completed that tutorial, check out the Q&A Design Tutorial which will teach you to create your own Q&As from the documents you built.