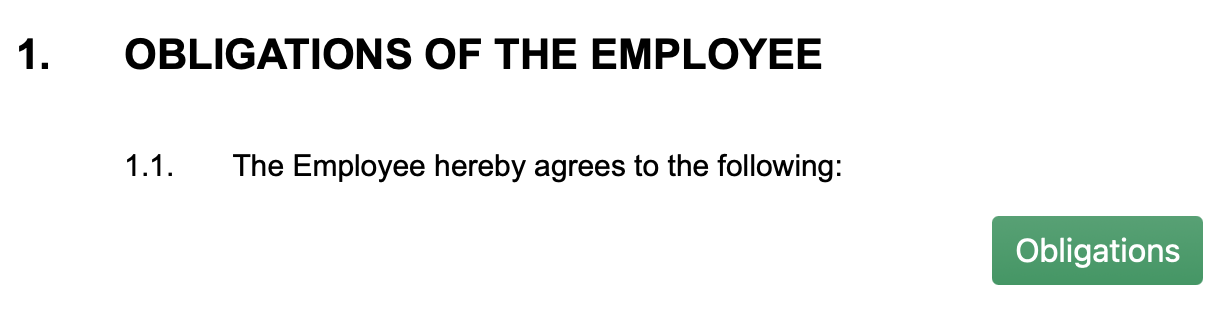
Action buttons are an easy way to allow users to add pre-selected clauses with one single click. This is particularly useful if you want to allow the user to individually add clauses of a certain category, like in this example.
Inserting an Action Button
In order to insert an action button, you need to first navigate to the clause where you want the button to appear. Double-click it to start editing it and in the menu on the right-hand side, click on action button. Add an action button by selecting the green icon. A new window with more options will appear.
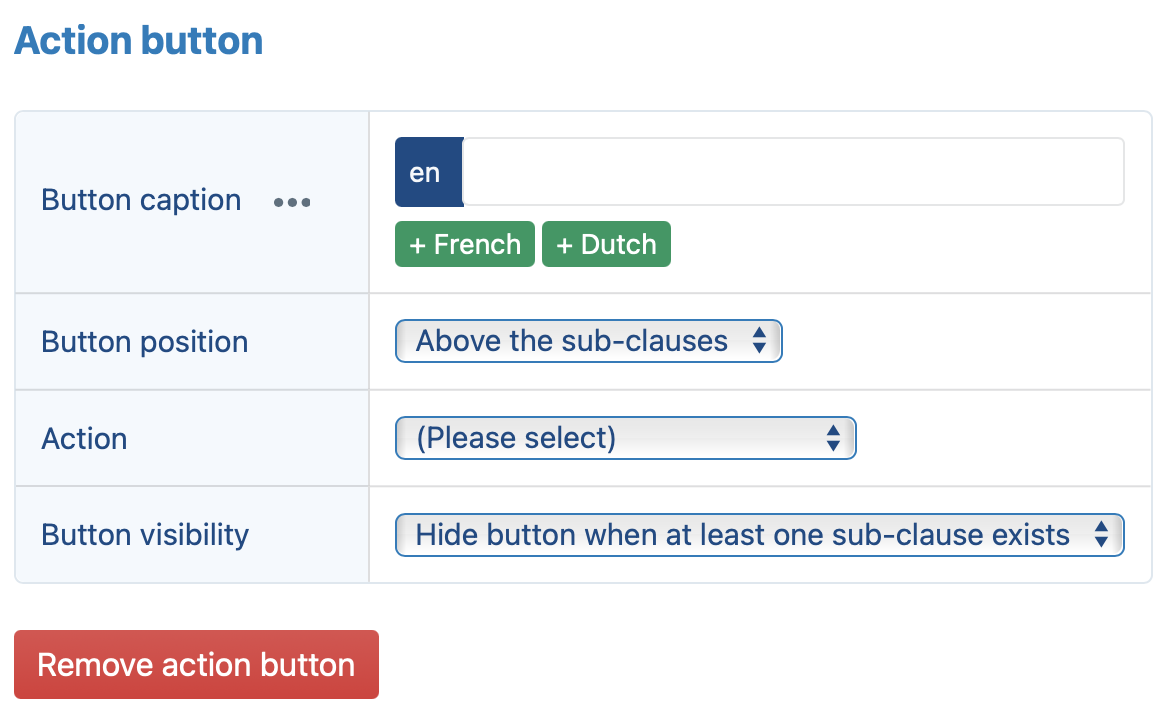
- button caption: This is where you insert the text that will be displayed on the button. Different versions can be made for different languages. Translations can also be generated.
- button position: The button can be positioned either above, or below the selected sub-clause.
- button visibility: This option allows you to hide a button when at least one sub-clause exists.
- action: Here, you can choose which clauses should become available by clicking on the button. You can either:
execute a saved search: Choosing this allows you to save search criteria. This search will then always be executed when the button is clicked. The search results will be presented to the user.
browse selected folder: If this option is selected, the user will be taken to the selected folder in the browse pane, enabling him to view the contents of that folder and add any clauses in there as relevant.
present preselected clauses: Lastly, you can also individually select clause which will then be presented by clicking on the action button.