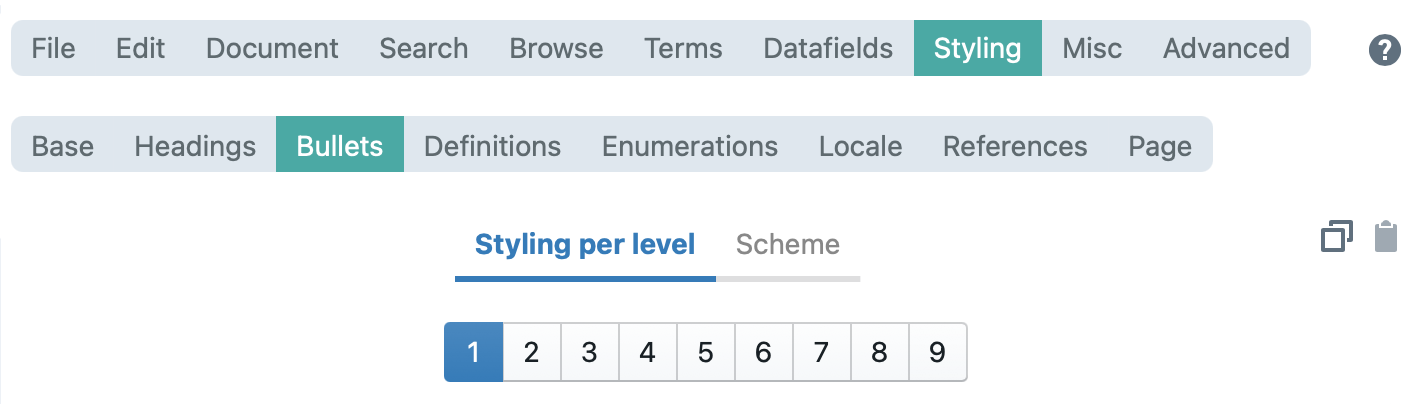
In order to change the bullet styling, navigate to bullets under the styling menu.
Under the enumerations styling settings, we distinguish between regular and internal bullets. However, the bullet styling settings apply for all enumerations, if the items are displayed on different lines. Those include enumerations created with asterisks, curly brackets, and enumerations created with special functions.
Styling per level
The styling per level tab allows you to customise the styling preferences for each level. The settings are fairly straight forward:
- Alignment of each paragraph: This allows you to customise the alignment of the bullet points (e.g. entered, left aligned,..)
- Spacing of each paragraph: Here, you can customise the bullet line spacing.
- Font: Properties such as font, color or size can be changed here.
- Numbering: Choose whether the numbering icon should be followed by a space, a tab or nothing.
- Text flow settings of each paragraph: Adjust the text flow of each line.
Numbering scheme
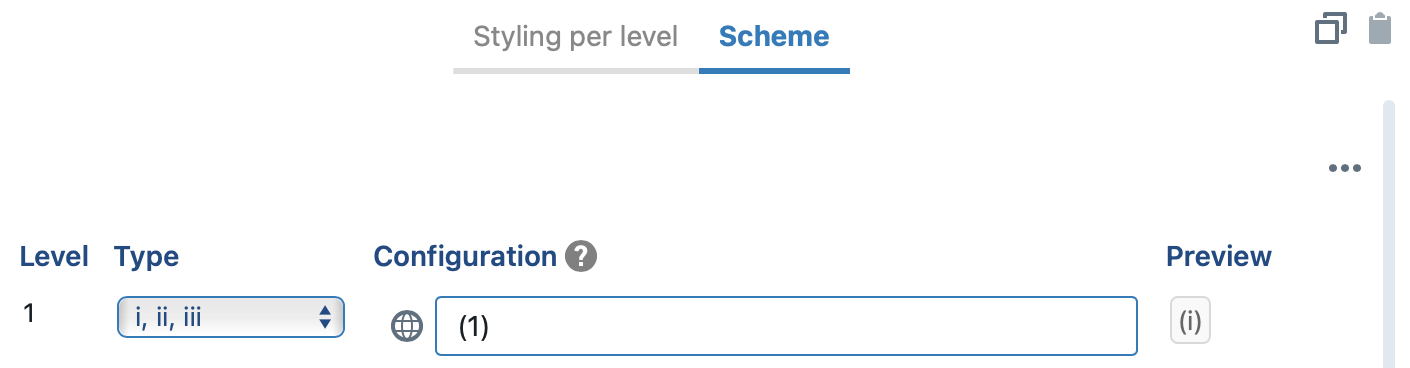
This section allows you to define two properties for each level:
- First, you can determine which character will be used as the bullet symbol. The options range from roman numbers and letters, to a variety of bullet characters.
- Second, under the configuration tab, you can customise how the symbols is supposed to appear. In the screenshot above, the roman number was configured to be surrounded by brackets. A preview of the final styling is displayed under preview.
Note that if you change the default settings, all bullets in the document will be formatted in that way.