Paper
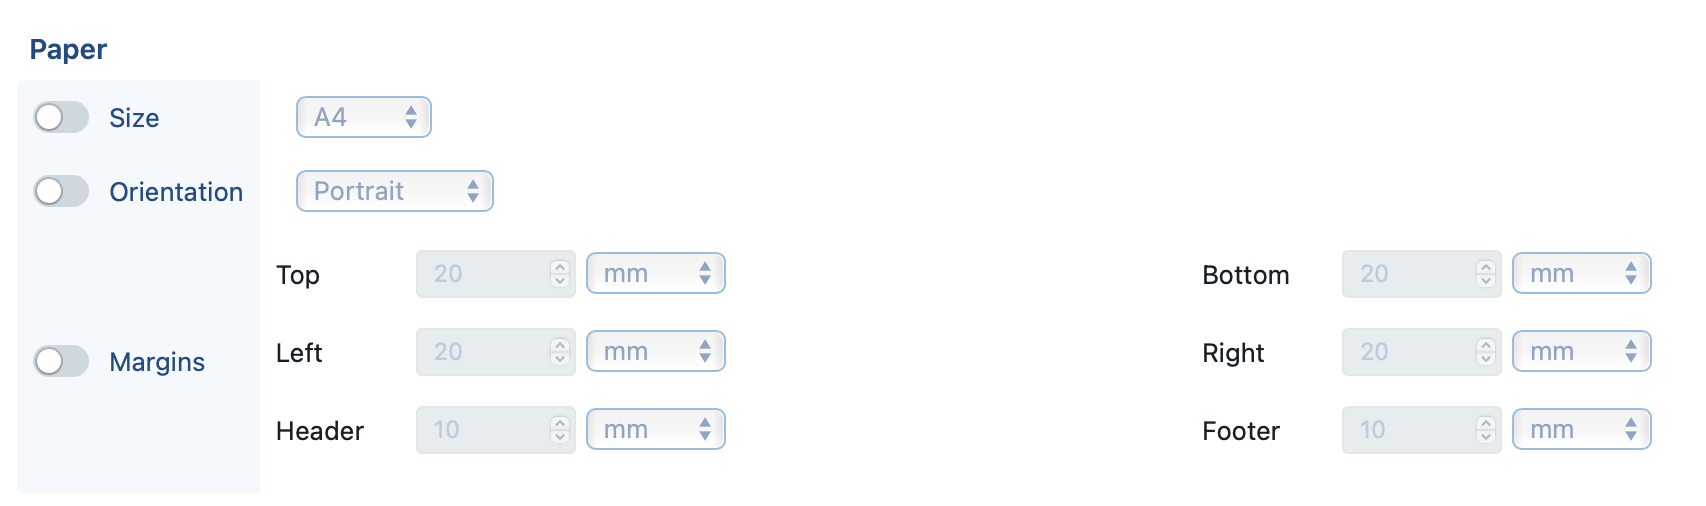
These settings should be fairly straightforward: you can choose the paper size, orientation and margins. They correspond exactly to their equivalents in MS Word.
Note, however, the difference between the top/bottom margin on the one hand (how far from the edge the headings and body text should be located?), and the header/footer margin on the other hand (how far from the edge the header or footer should be located). If a top/bottom margin is smaller than the header/footer margin, then the top/bottom margin will be implicitly increased. After all, the header/footer will necessarily need to be positioned within the top/bottom margin.
Document title layout
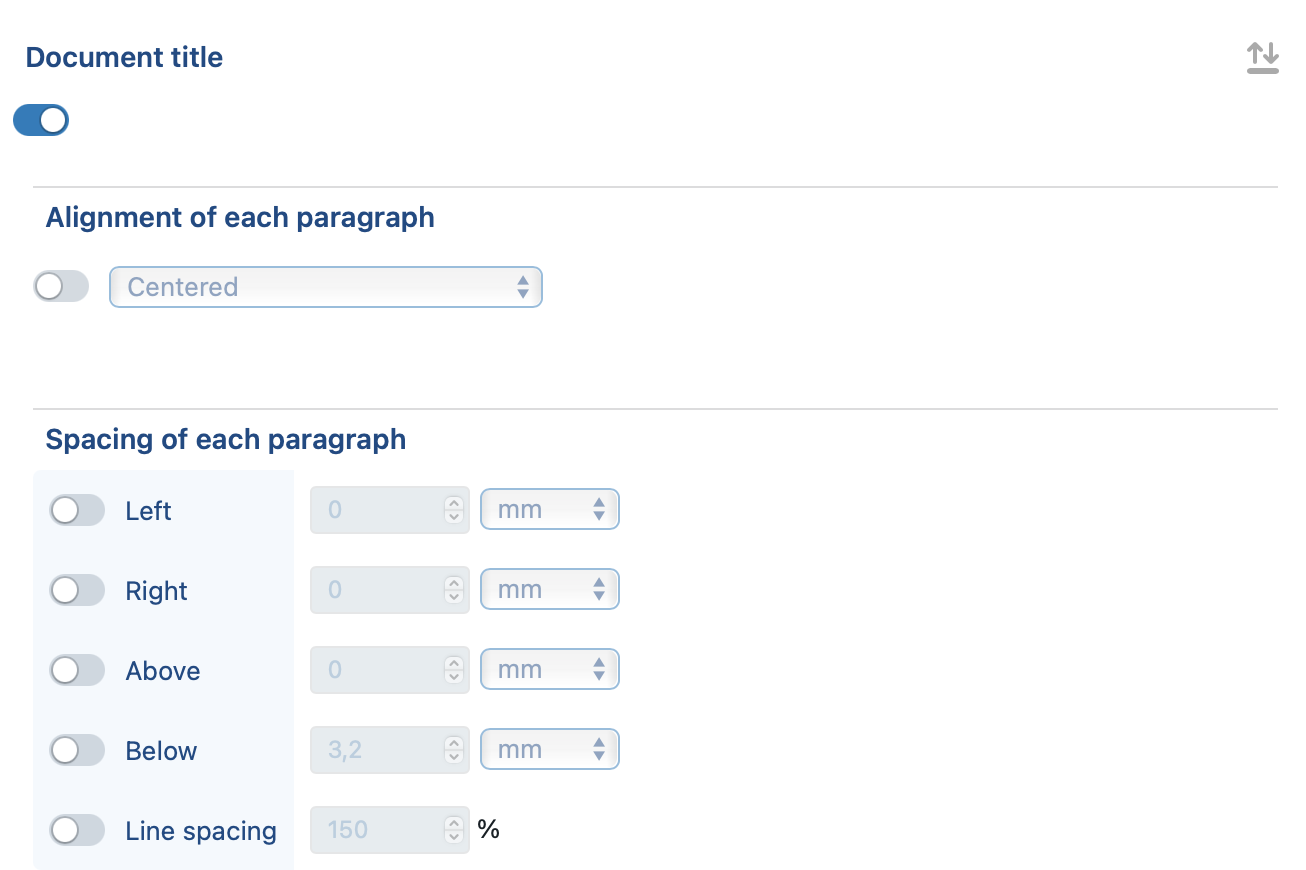
As suggested by its name, this setting specifies the layout of a document’s title (as set in Assemble Document > document tab > document title input box, in conjunction with the “print title” setting).
The default title layout is Arial Bold 16pt, all capitals, with 150% line spacing and 9pt spacing below the paragraph.
If you enable this setting, you can customize the title’s alignment, paragraph spacing, font and text flow settings.
Header & footer font
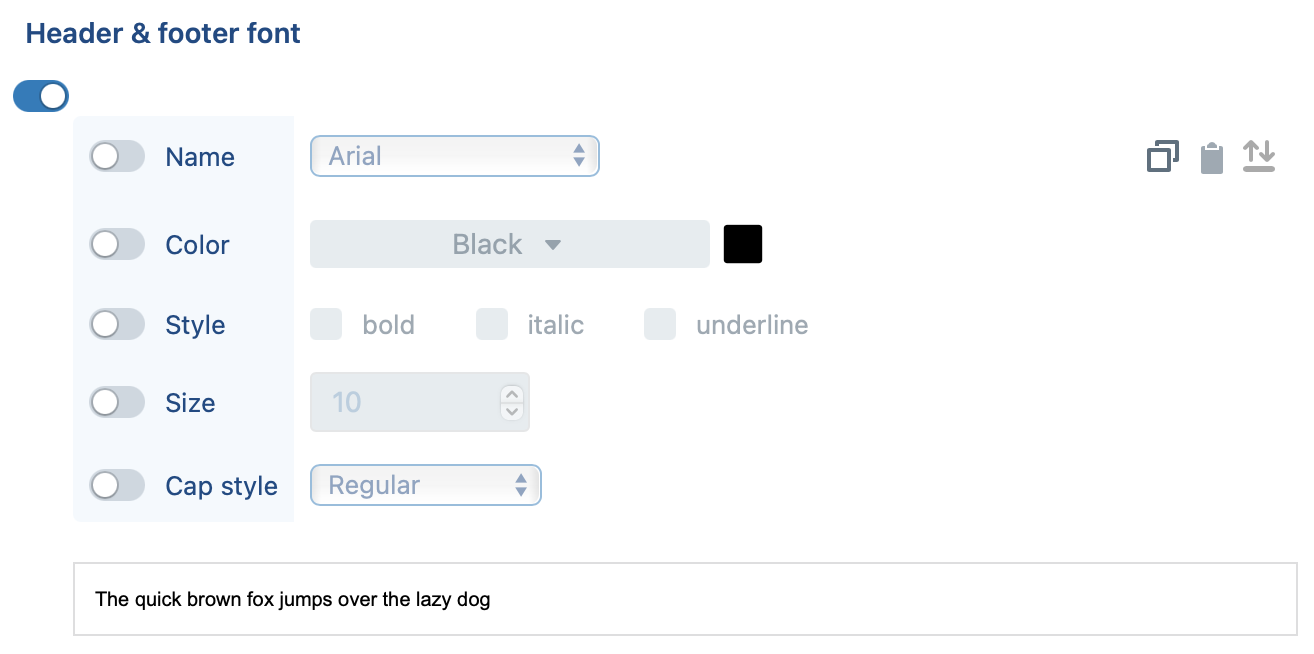
With this setting, you can customize the font used for the header and footer of a page. By default, this font is equal to the body font, i.e. Arial 10pt.
Header and footer content
In this setting, you can specify the contents that should be printed in the left, center and/or right part of the header or footer. In each of those locations, you can either enter some hard-coded text (e.g., a company’s name, copyright statement or a warning such as “confidential – for discussion purposes only”), or any of the following dynamic text fragments, which can be selected from the  dropdown menu:
| fragment type | code | description |
| Page nr. | {page-nr} | The current page number. |
| Total pages | {total pages} | Total number of pages in the document. |
| Date | {date} | Current date, formatted in accordance with the current locale settings. |
| Time | {time} | Current time, formatted in accordance with the current locale settings. |
| Clause body | {clause #file} | Inserts the contents of a specific clause into the header/footer. This essentially allows you to insert any content you like. The #file should refer to the filename of a clause that is either part of the current document/binder, or can be accessed by the current user. |
| Previous content | {previous} | Similar to setting the “Link to previous” setting in MS Word. It means “do not show a new header/footer — reuse the one from the previous MS Word section”. |
| (Nothing) | Shows an empty header/footer |
In addition, you can insert a line break by typing %% (similar to the way you would insert a line break in the content body of a clause).
You can also insert an image in the header and/or footer. In the rows below:
- All the measurements can be given in centimeters (e.g., “5 cm”), millimeters (e.g., “5 mm”), inches (“e.g., “5 i”), points (e.g., “5 pt”) or pixels (e.g., “5 px”). If you do not specify the measurement unit, pixels will be presumed (e.g., “5” will be interrpeted as “5 pixels”).
- All the measurement numbers can be replaced by datafields (e.g.,
"#styling^width cm"will be interpreted as “5 cm” when the number 5 happens to be stored in the datafield#styling^width). - The
#fileparameter can be used to refer to:- An image-file that was previously uploaded to the filesystem, and has a filename (in the relevant language) identical to the characters after the hash. If multiple files would match, an error will be produced — you are therefore strongly advised to use sufficiently specific filenames for image files.
- A datafield (e.g.,
#contract^header-image) to which some value has been assigned in the current document/binder.
| logo | {logo} | Default logo of the customer, as specified by the administrator. The image’s default width and height will be used. |
| logo | {logo maxsize} | Default logo of the customer, as specified by the administrator. The maxsize parameter will be used to constrain the image’s width and height to the given size. For example, a logo of 10cm x 4cm will have width 5cm and height 2cm when using {logo 5cm}, because the relative width/height proportions will be respected. |
| logo | {logo width, height} | Default logo of the customer, as specified by the administrator, printed with the given width and height. |
| image | {image #file} | Image file with the specified filename. The image’s default width and height will be used. |
| image | {image #file, maxsize} | Image file with the specified filename. The maxsize parameter will be used to constrain the image’s width and height to the given size. For example, an image of 10cm x 4cm will have width 5cm and height 2cm when using {image 5cm}, because the relative width/height proportions will be respected. The |
| image | {image #file, width, height} | Image file with the specified filename, printed with the given width and height. |
| watermark | {watermark #file} | Image file with the specified filename. The image will be automatically resized to fit the maximum dimensions of the page, and will be positioned behind the text (similar to a watermark, but with its original colours, so not “washed out”). |
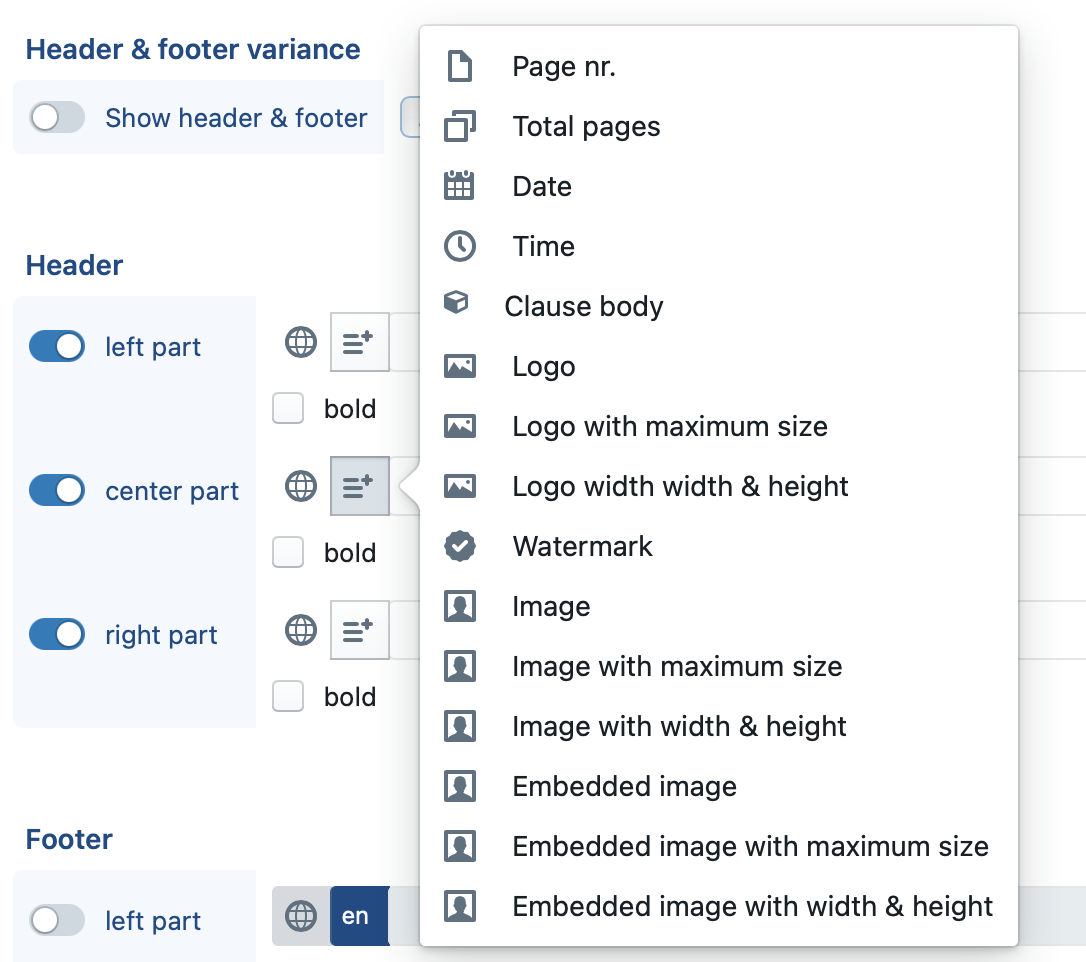
You can use different settings per language, by clicking on the globe button. This allows you to, for example, translate the copyright warning in the various languages, or translate the English/French expression “page 5 / 15” into “pagina 5 / 15” in Dutch.
Different headers & footers
Similar to Microsoft Word, ClauseBase allows you to specify a different header/footer set for the first page and subsequent pages. This can be controlled through the hear & footer visibility box.
PDF files to merge with
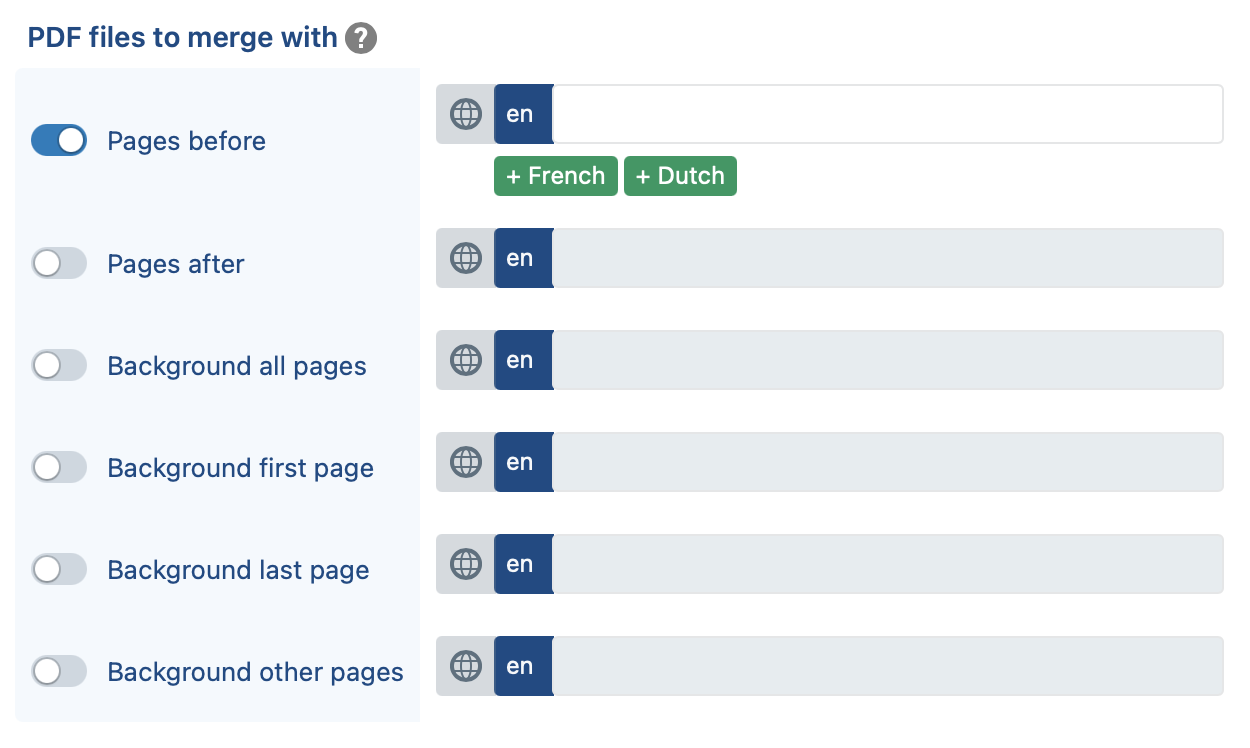
Pages before / after
These settings allow you specify certain PDF-files that need to be inserted before or after the main content (i.e., the clauses you prepare in ClauseBase).
Note that these settings have no effect when you export to a .DOCX file, or when you export with the comparison functionality enabled. (After all, when comparing legal content, you are not interested in seeing the comparison of two identical PDF files.)
These settings allow you to, for example:
- insert a graphics-heavy front page as the very first page of your document
- insert a product brochure as an annex
- insert terms & conditions or policy documents as an annex (assuming those terms & definitions are not allowed to ever be changed)
You insert those documents by typing in #file to refer to a PDF-file that was previously uploaded to the ClauseBase filesystem. The PDF-file must be accessible to the current user, and its filename (in the relevant language) must be identical to the characters after the hash. If multiple files would match, then an error will be printed — you are therefore strongly advised to use sufficiently specific filenames for image files.
- You can insert multiple files (separated by comma’s) — for example
#coverpage, #innerpage, #introduction— which will then be inserted one after the other in the resulting PDF file. - When the styling-settings related to the pages before/after are being merged together, you can preserve the “previous” pages by inserting placeholder
%.- For example, in a Q&A you may have a first change set that would insert the pricing-annex when condition A is met, while the safety-annex is inserted through a second change-set when condition B is met and the compliance-annex would be inserted through a third change-set when condition C is met. When you would not use the
%parameter in the “pages after” field, then only a single annex would be inserted, even when conditions A, B and C would be simultaneously met (because the field-value of change-set B would simply replace the field-value of change-set A, and the field-value of change-set C would on its turn replace the field-value of change-set B). By inserting “%” at the beginning of the field, you indicate that you during the merge, you want to preserve whatever value was there before.
- For example, in a Q&A you may have a first change set that would insert the pricing-annex when condition A is met, while the safety-annex is inserted through a second change-set when condition B is met and the compliance-annex would be inserted through a third change-set when condition C is met. When you would not use the
- If you like, you can also differentiate between languages by toggling the
 button. For example, while you may want the front page to remain the same across languages, you may want to change the policy documents attached at the end of the bundle, by referring to different PDF files per language.
Background pages
These four settings (all pages, first page, last page and other pages) allow you to refer to certain PDF-files that need to be put on the background of the main content.
Typical use cases include:
- inserting a graphics-heavy footer prepared by your graphics department
- inserting a specially crafted background image on the first page of the document (e.g., containing your law firm’s logo, tagline, list of partners and offices)
- inserting a “DRAFT” message as a watermark on every page
Some notes:
- similar to the pages before and pages after settings, you simply specify the file ID(s)
- background other pages refers to all the pages except the first & last
- if you refer to multiple files, they will be included in order (if they would happen to overlap, then the file you specified first will be at the bottom)
- the PDF-file(s) you specify in background all pages will actually be inserted first, on all the page of the document; if you also happen to specify PDF files for the first/last/other pages, then those will be laid on top of the elements inserted from the background all pages PDF-file(s)
Copying headers and footers from MS Word
See the separate webpage on Copying headers and footers from an MS Word file.
Copying styles from MS Word
These advanced settings are described on the separate webpages on Copying styles from an MS Word file and How to: use custom fonts.