The right part of the Assemble Document mode (next to the document preview on the left) is the operations panel. In this panel, you can edit and further customize the document. This article contains a short explanation of each of the tabs of the operations panel.
The following panes may be shown in the Assemble Document operations panel:
Some tabs or buttons listed in this article may not be visible to you, e.g. because they are only visible to more advanced users or users with other types of access rights to the file you are viewing.
File
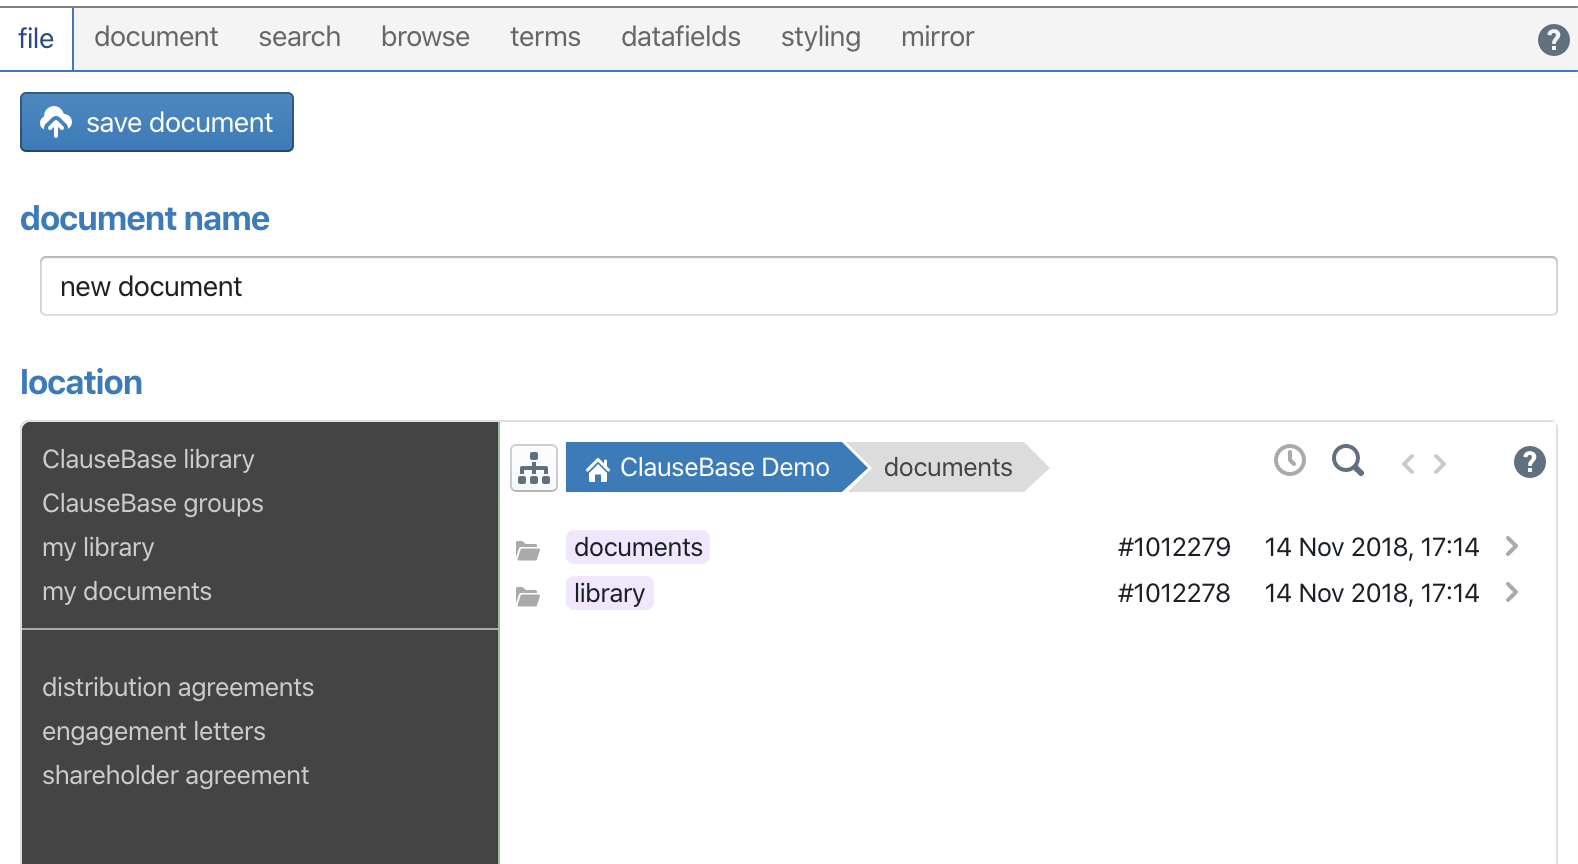
Under the file tab, you can save the document you are making in a location of your choosing, or save a copy of a document that was already saved elsewhere.
Edit
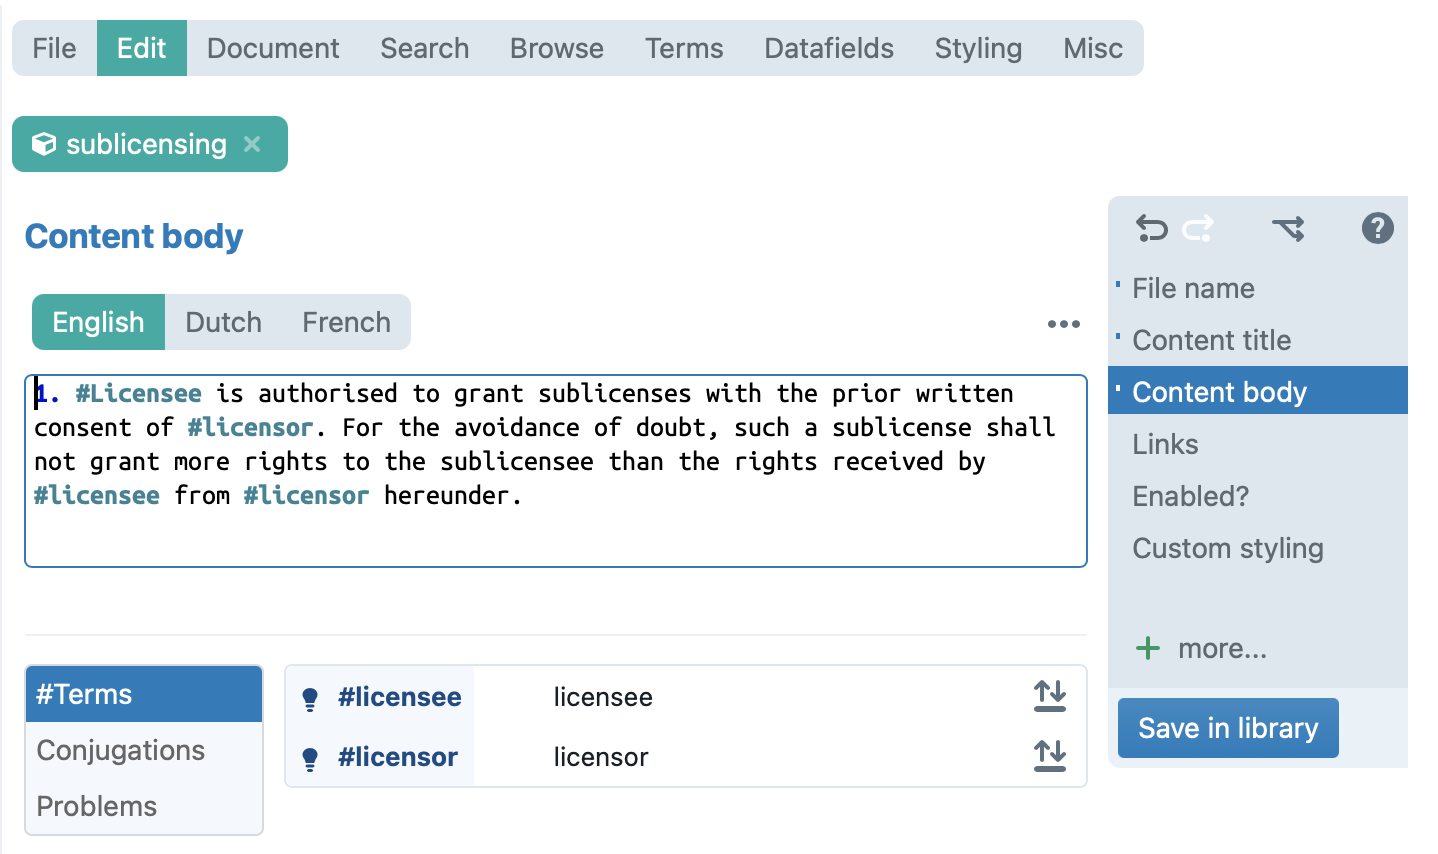
This tab will only be visible if you are editing a clause (or e.g. a concept) inside the Assemble Document mode, for example after creating a new library or ad hoc clause or after having double clicked an existing clause in the document.
In this tab, you can edit a clause or concept the same way you would in the Browse Files mode.
Document
The document title will only be visible if you are editing a document and not a binder. Refer to binder for information on the binder tab.
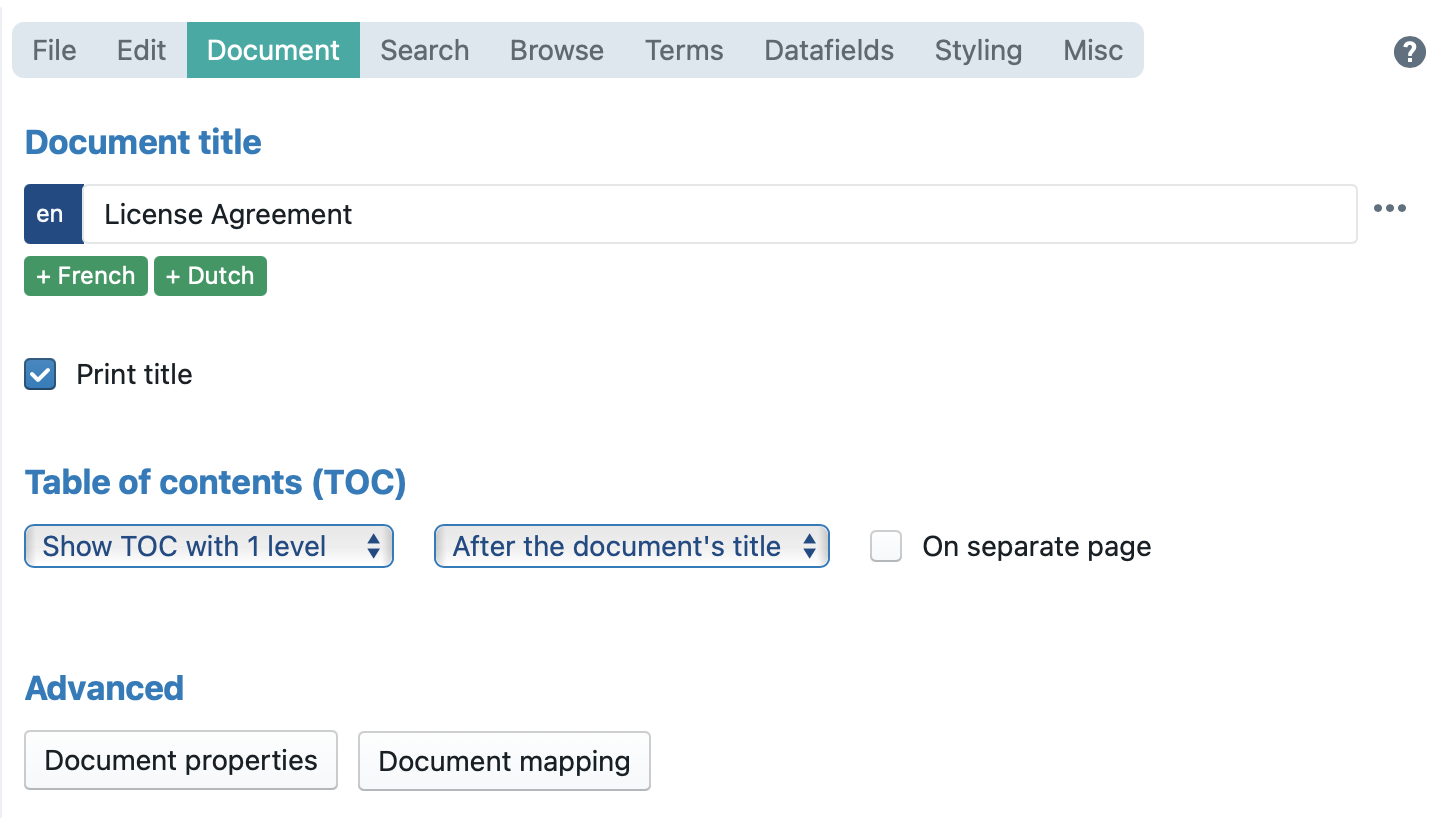
Under the document tab, you can edit various properties of the document itself.
Binder
The binder tab will only be visible if you are editing a binder and not a document. Refer to document for information on the document tab.
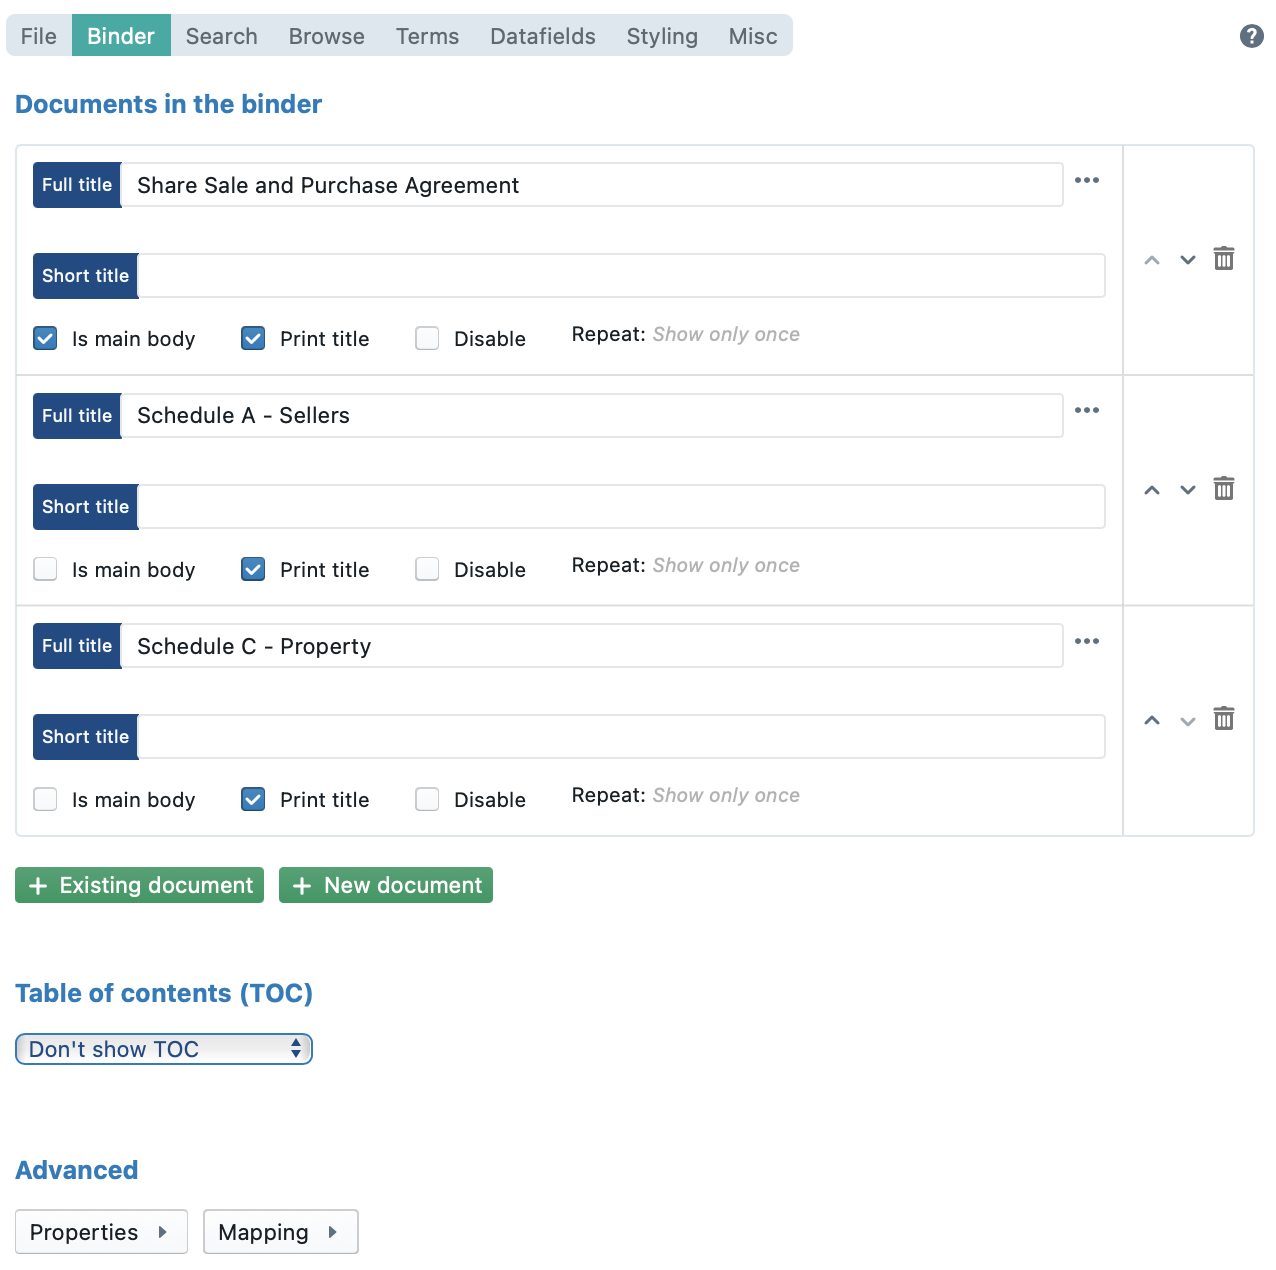
Please refer to the article on the binder pane for more information.
Search
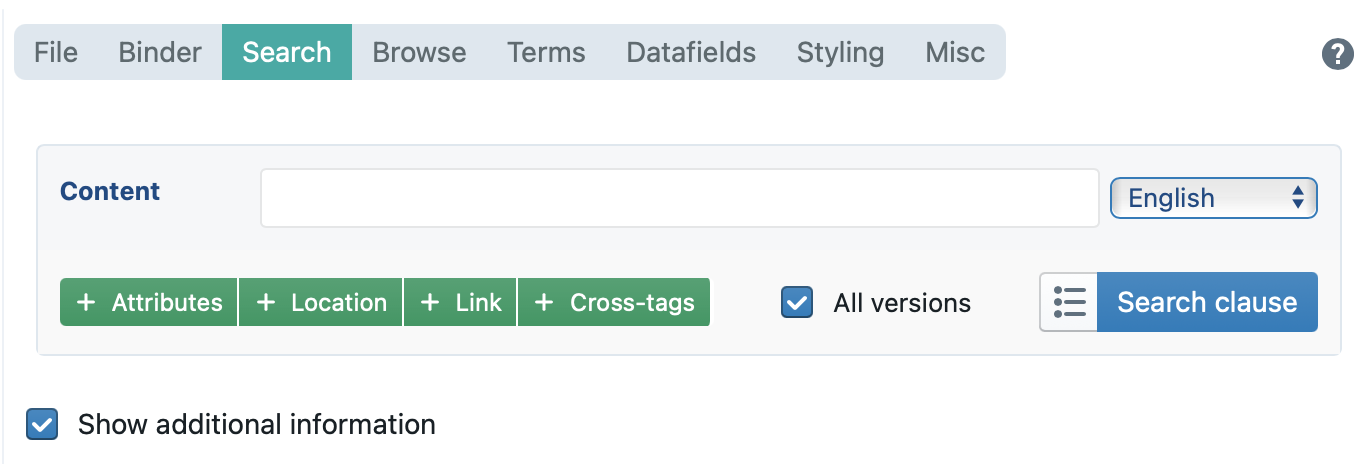
In the search tab, you can look for a clause based on its title or contents. The results can be filtered based on attributes, the location of the clause or any links the clauses contain.
Adding a clause to your document can be done by one of these plus signs  next to the relevant clause.
Browse
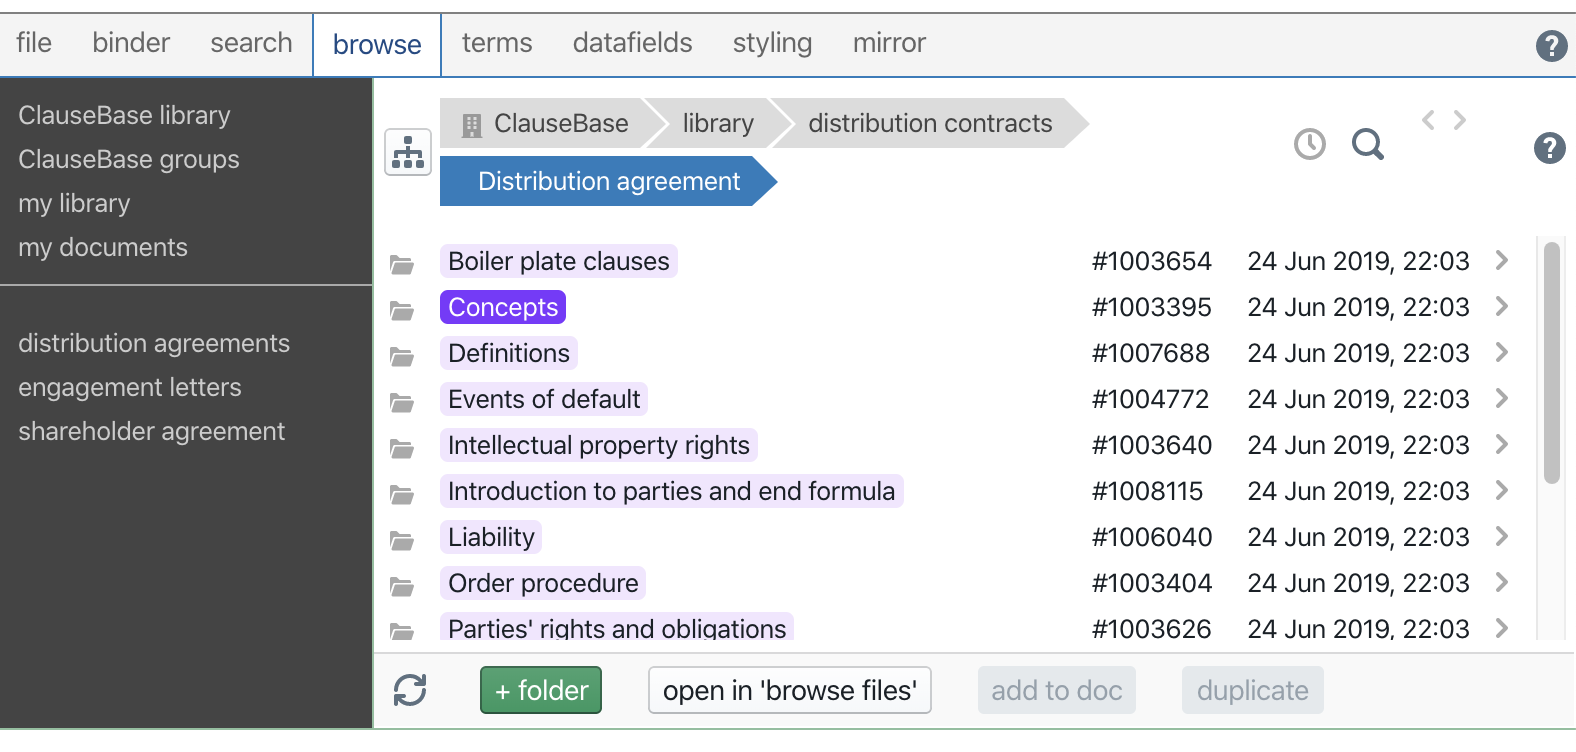
The “browse” tab works in much the same way as the Browse Files page does. The main differences are that:
- you can add a clause directly to your document
- you cannot create, edit or move files when in the Assemble Document mode (you can create new folders, however)
Having browsed to the clause you want to add, clicking it will show a preview of its title and body text in the bottom pane. You can then add it by clicking one of the plus signs as explained above under the search pane.
Terms
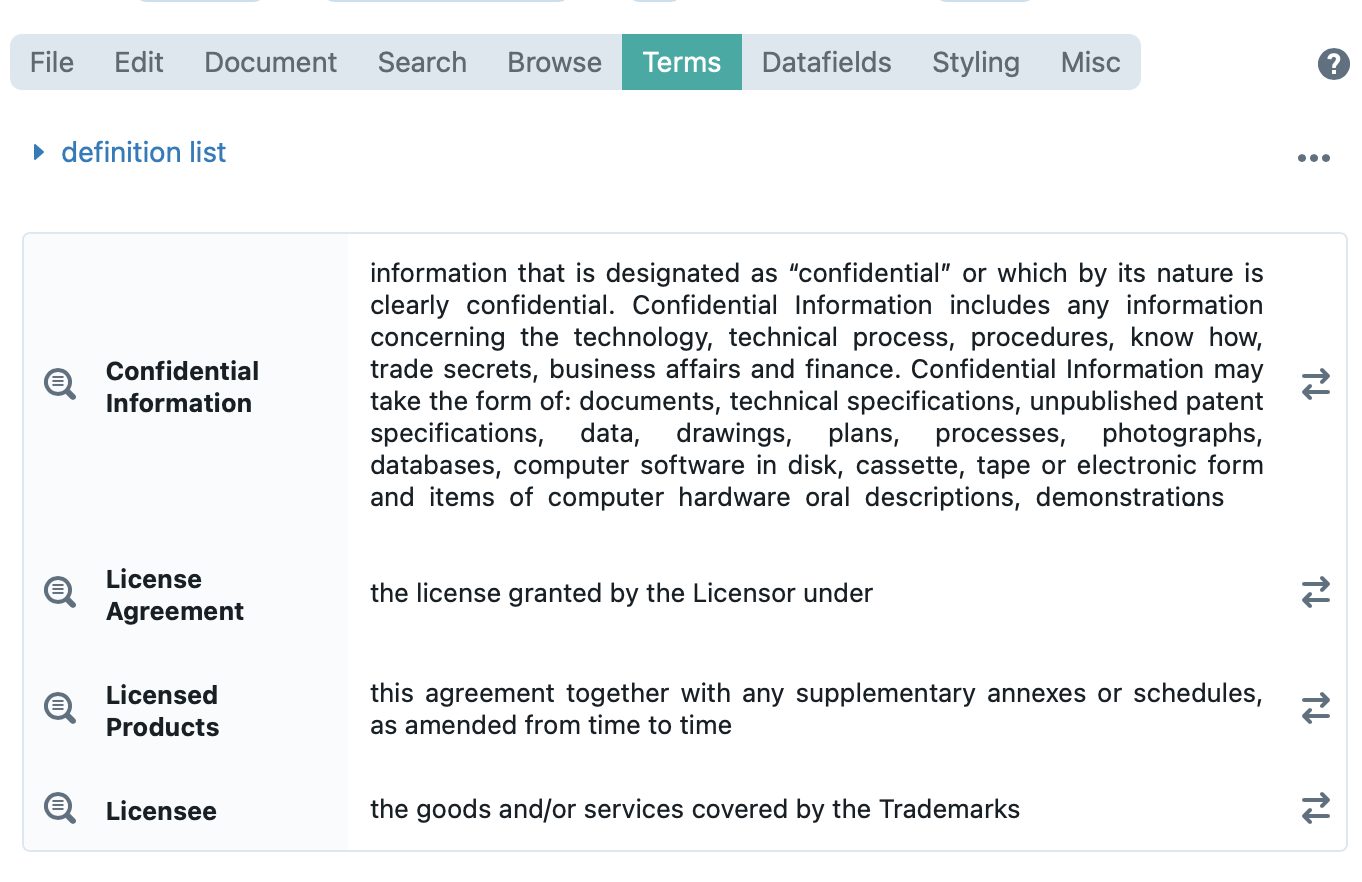
In the terms pane, you will be shown an overview of all concepts used in the active document.
You can click on each term to change the concept label tied to that concept. Additionally, you can change the definitions of each concept.
Datafields
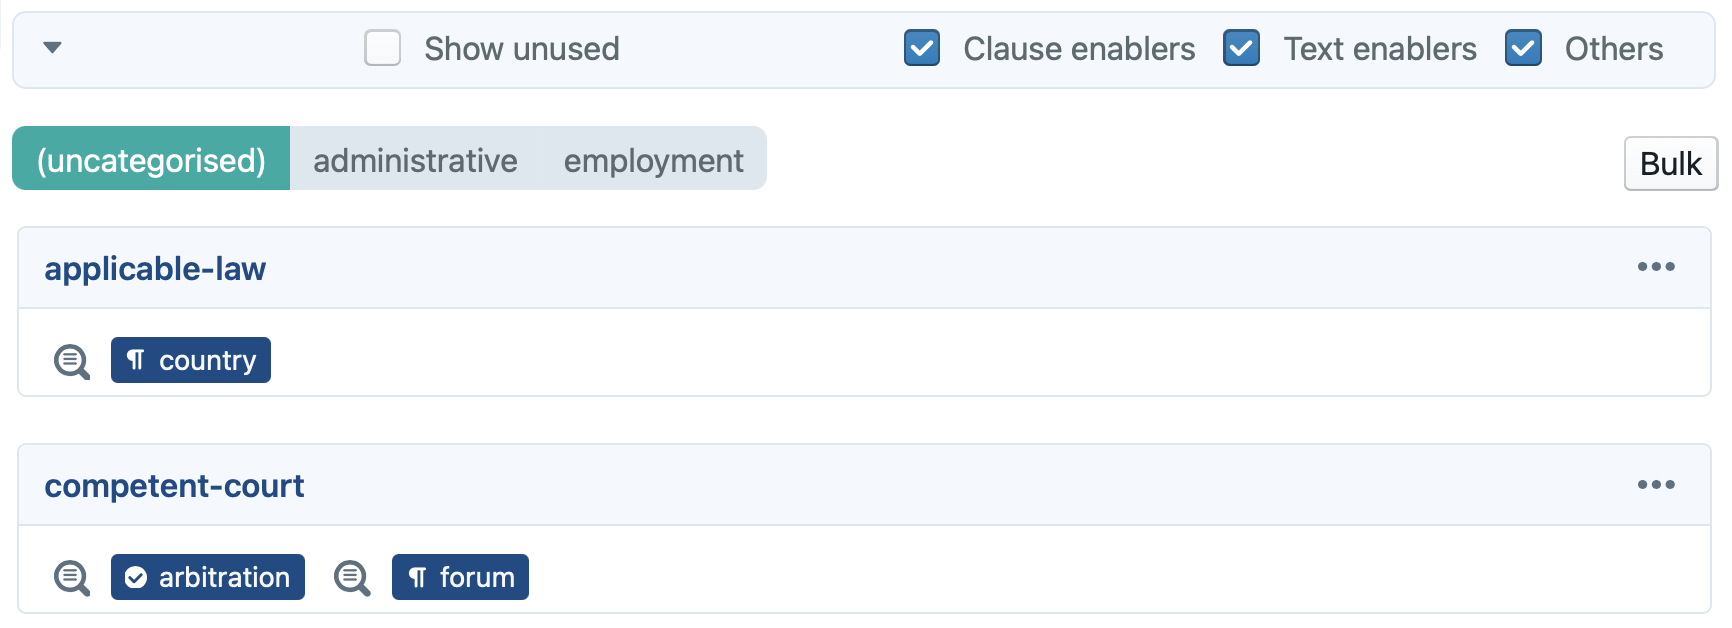
Under the datafields pane (also called the data dashboard), you get an overview of all datafields used in the active document.
Styling
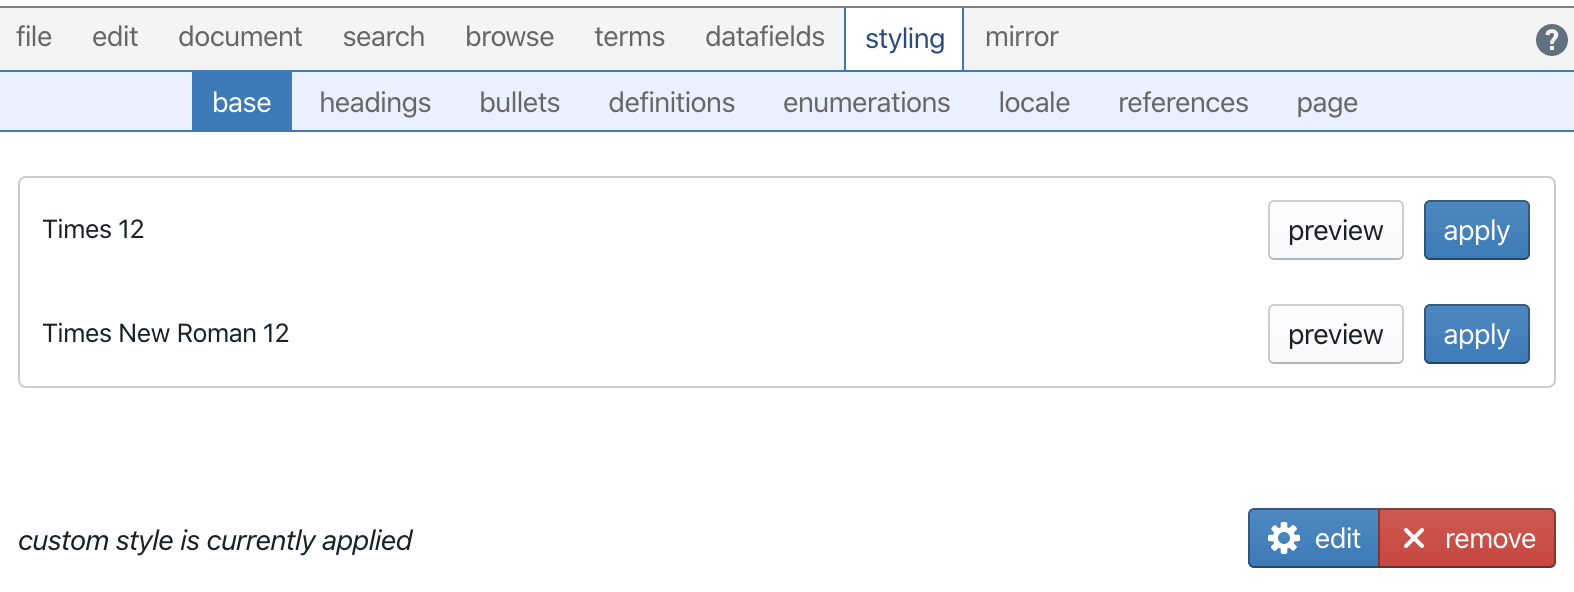
In the styling pane, the custom styling of the document (not any selected clause) can be adapted or removed. Please refer to the styling pane for more information.
Advanced
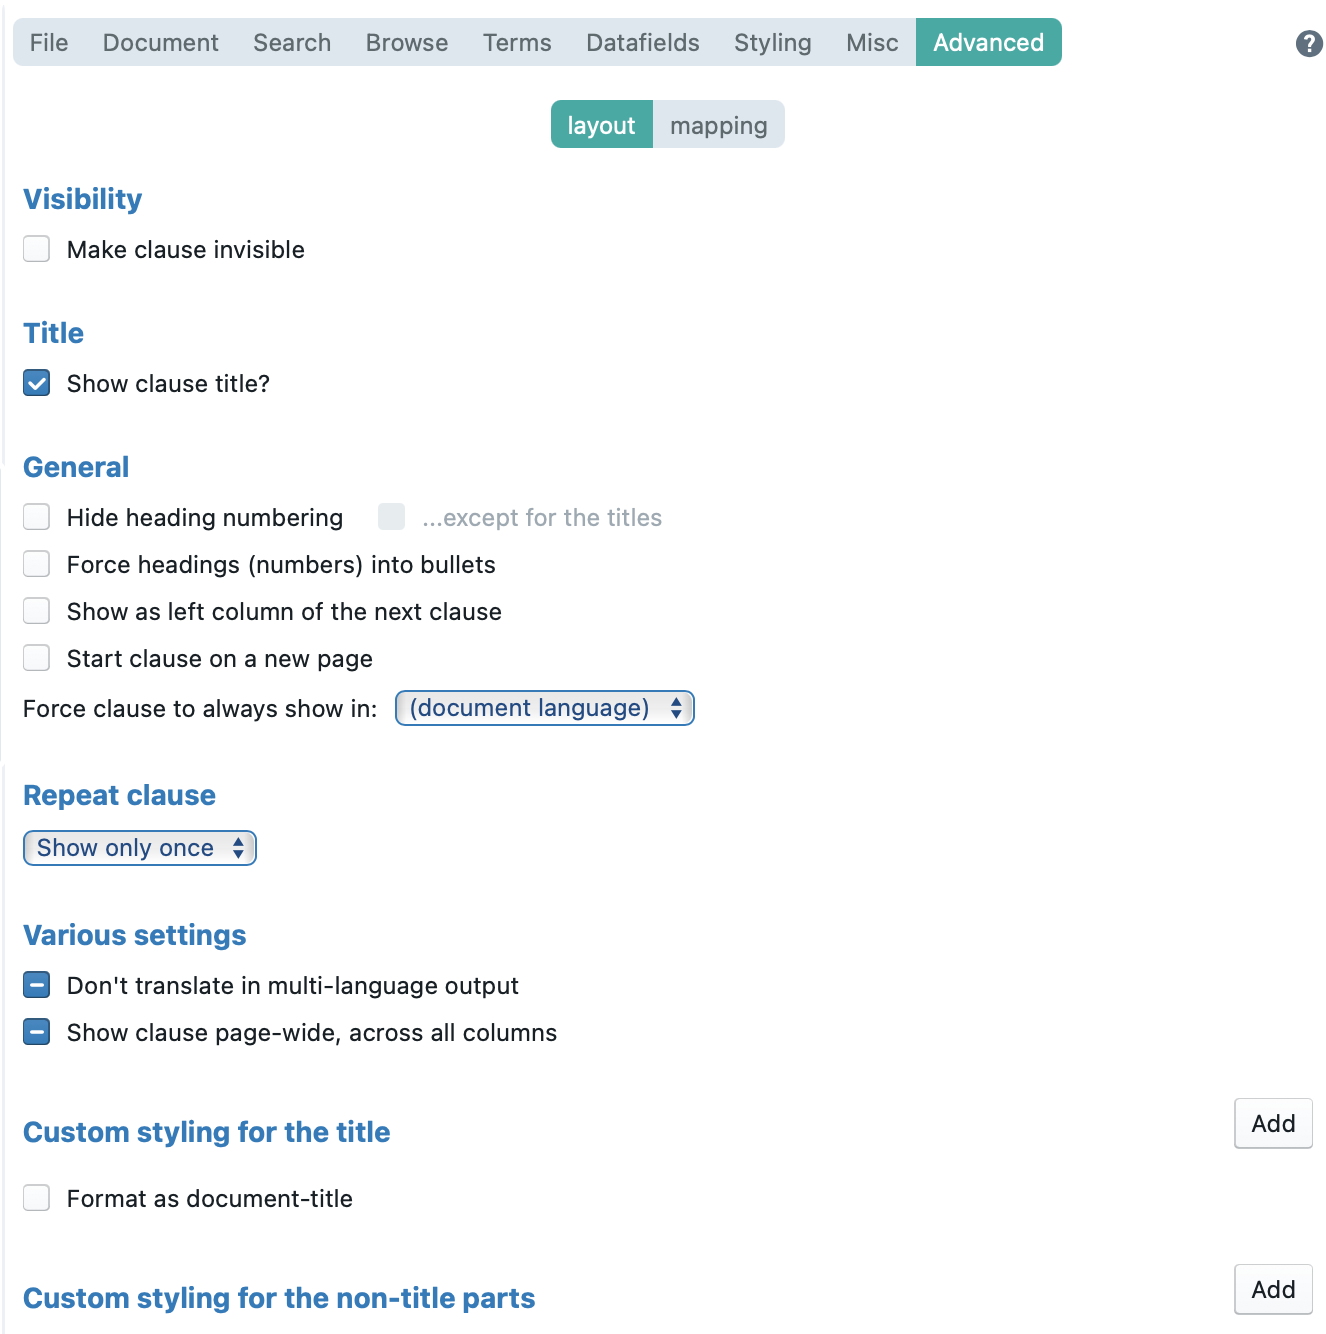
The advanced pane is only visible when a clause is selected. It allows you to specify the layout of specific instances of a clause, and to configure other advanced options relating to clauses.
Mirror
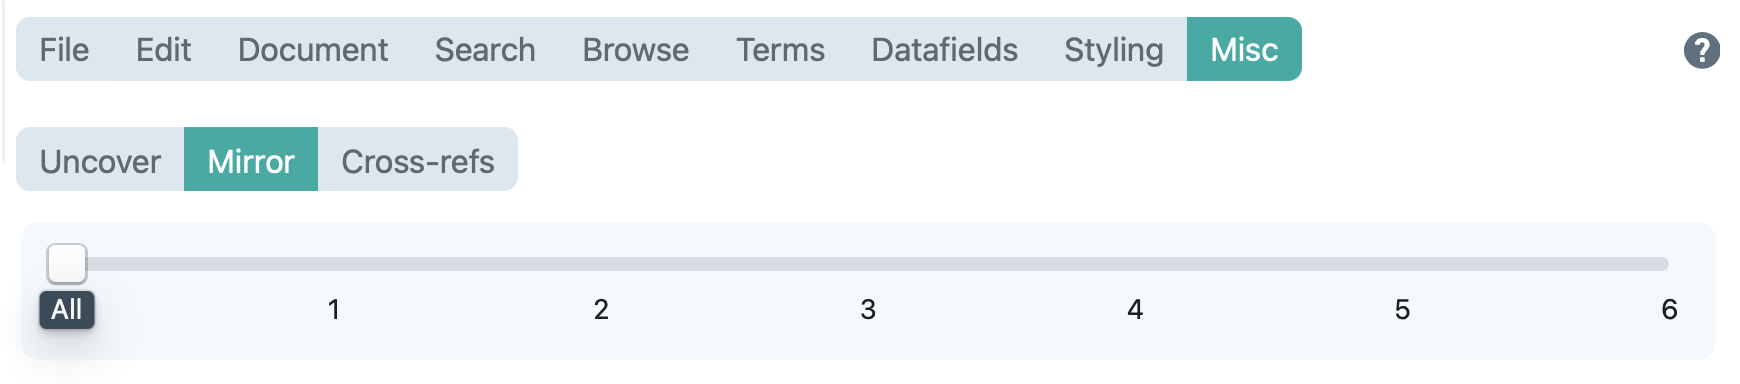
In the mirror pane, you can see another view of the active document or binder. In addition, the top slider enables you to hide certain levels of the document hierarchy. Setting it to “1” will only show the top level clauses. “2” will also show the first level of subclauses, “3” the next level, etc.
This feature can provide you with a handy higher level overview of the document or binder you are editing.