In the styling pane, the custom styling of the entire document or binder (i.e., not a specific clause) can be adapted or removed.
Using this pane, you can quickly apply custom stylings, either on the basis of a predefined styling template, or using some completely customised settting.
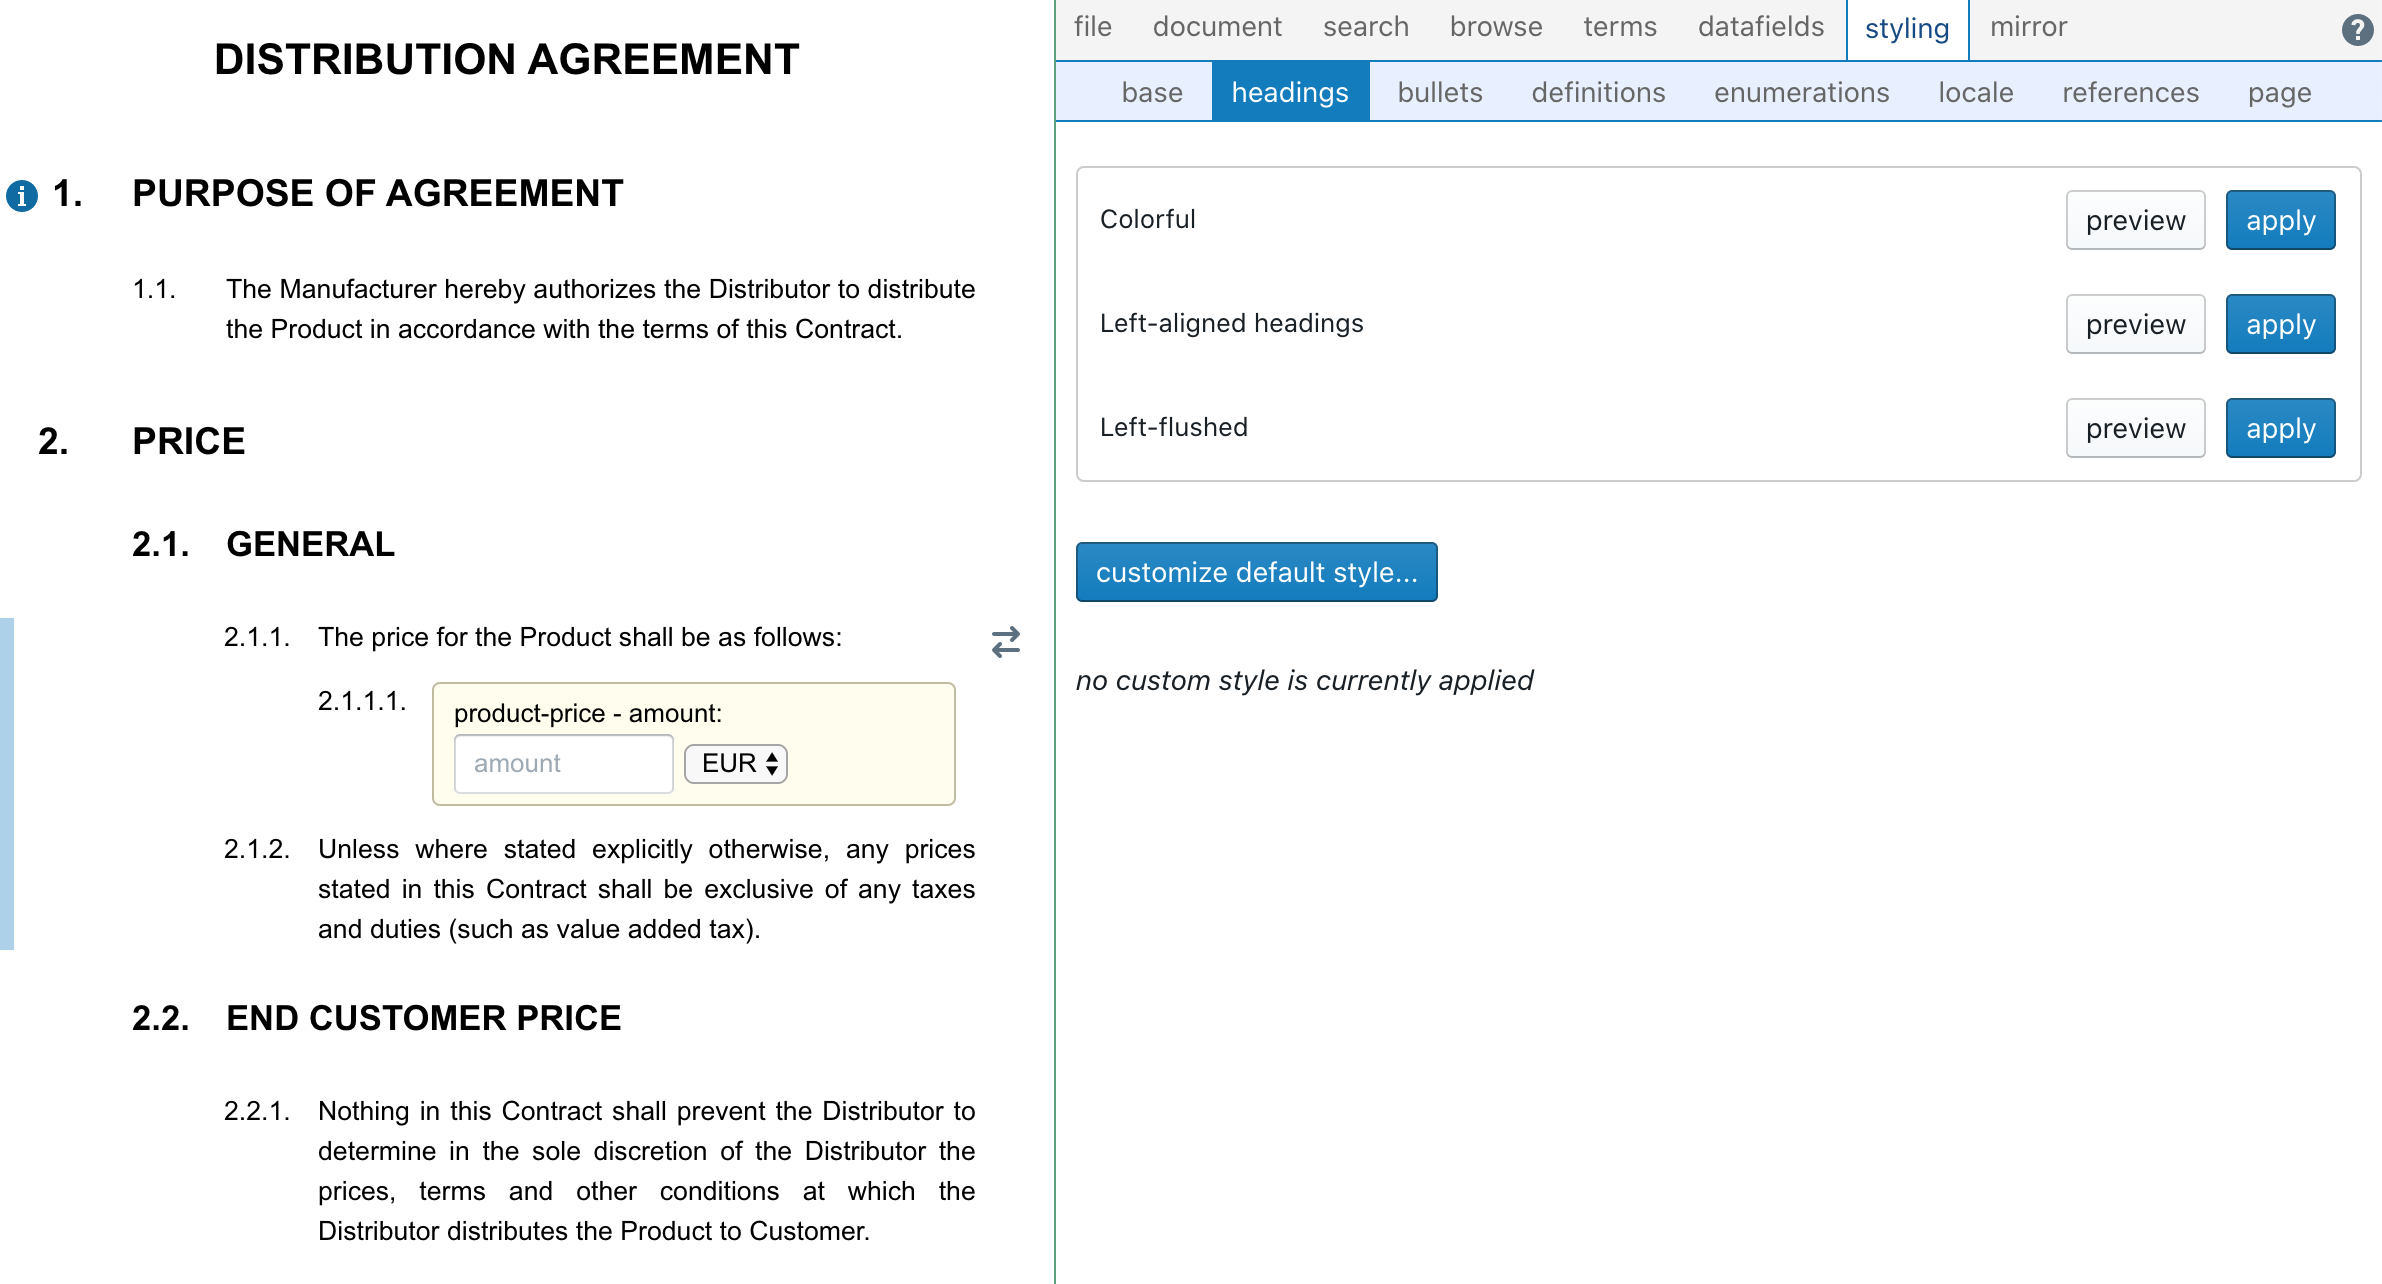
For example, the following document is currently shown in in its base state, without any custom styles:
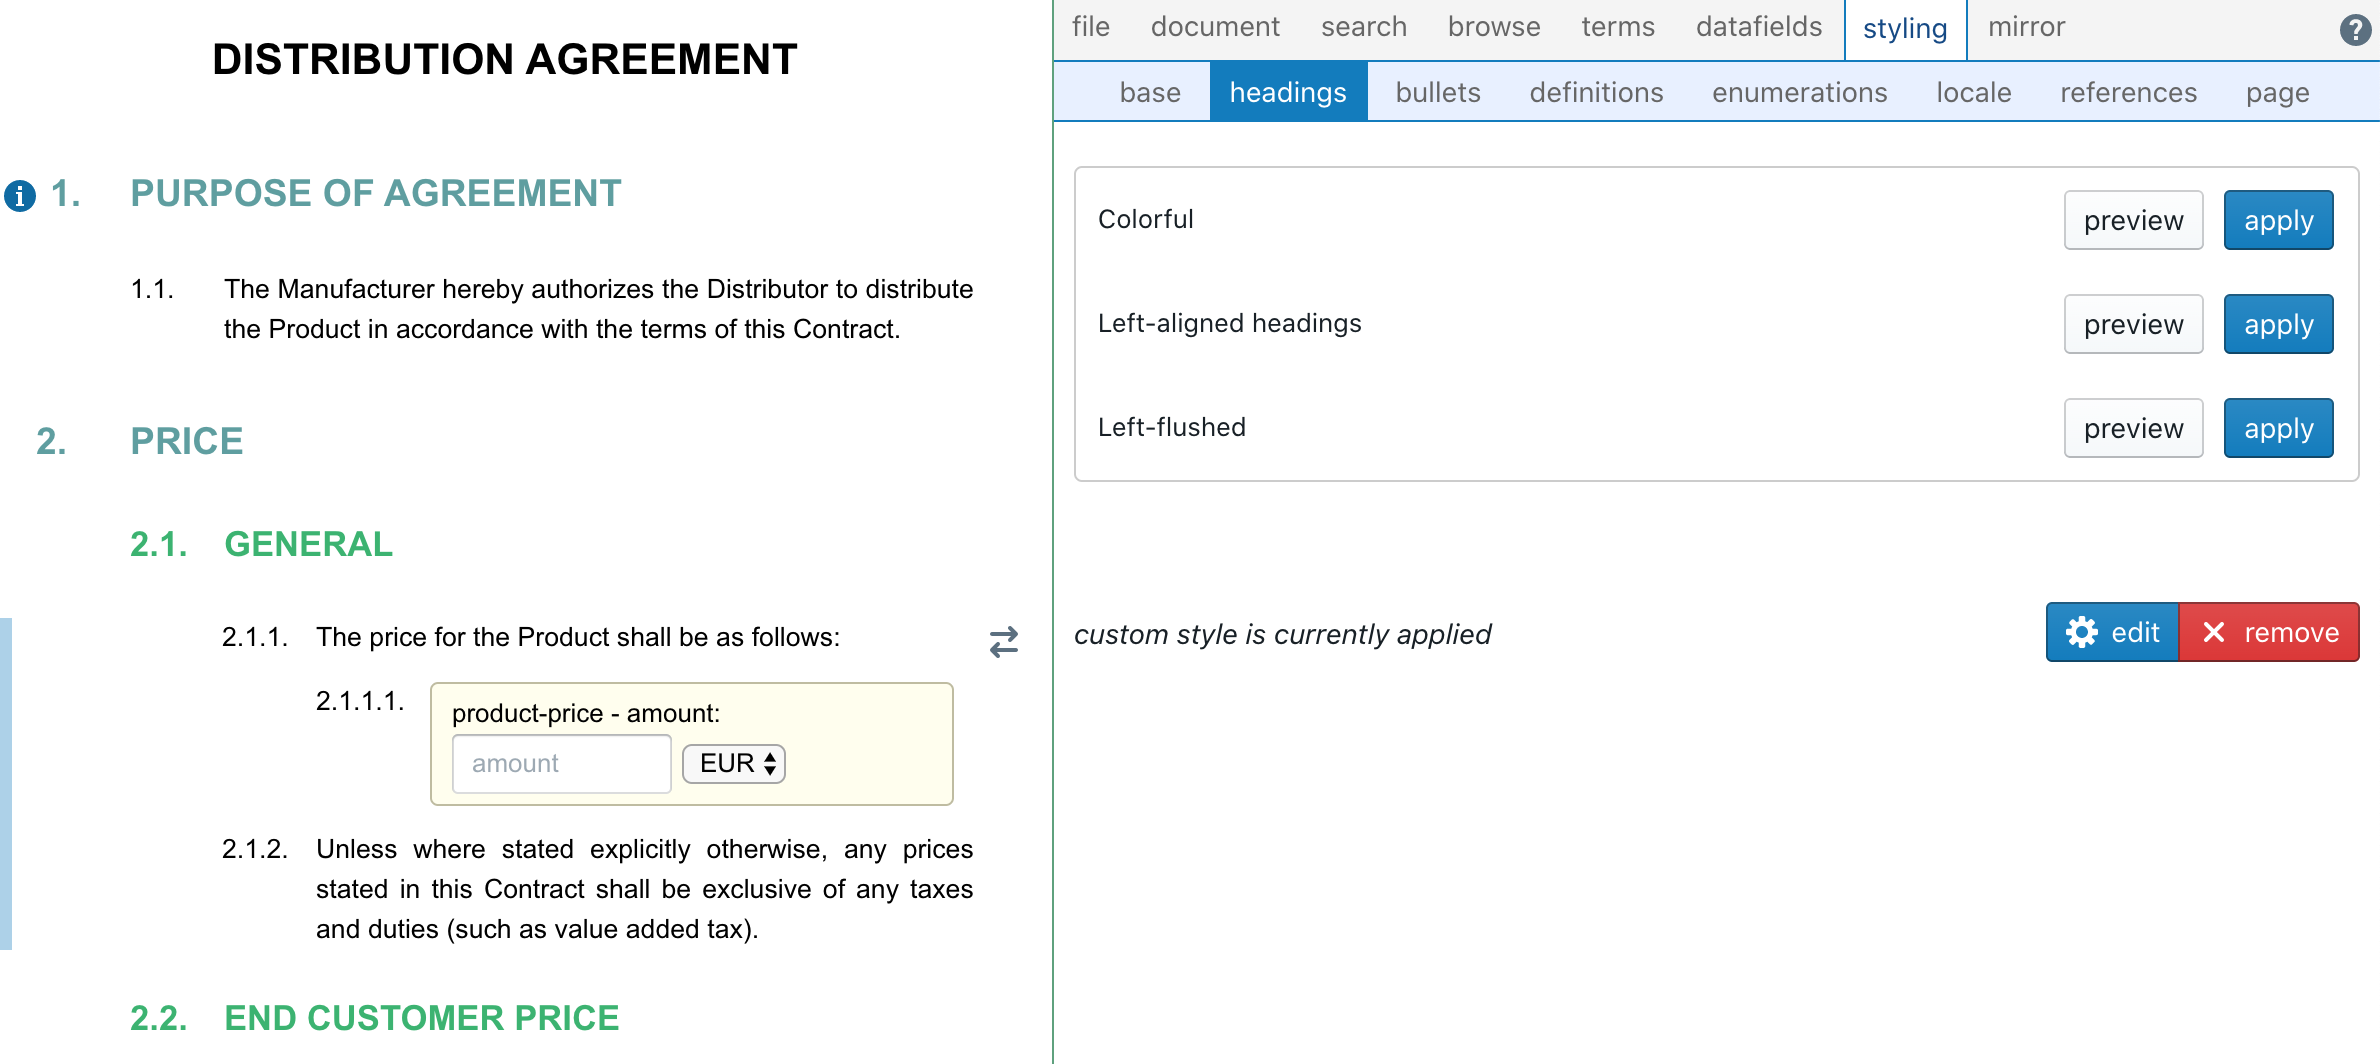
If you then apply one of the style templates that were predefined by the customer’s administrator (in casu the Colorful template), the result will be as follows, with a single click of a button.
You can then further customise the styling by clicking on the  button. Please refer to the styling section for more information about the actual contents of all those styles.
Please note that you are applying custom styling to a document, which you should ideally try to minimise to ensure uniformity across your entire office.
Also be aware that once you apply a style template to a document, it will not automatically update once the style template is applied. For example, assume you have a style template “MyStyle” that assigns Times New Roman/16 points/blue to headings at the first level. If you assign MyStyle to a certain document, then that document will copy the layout features of MyStyle (in casu Times New Roman as a font, 16 points as the size, and blue as the color). If then, later on, you happen to change MyStyle to Arial/14 points/red, then the document in question will not be updated, and will continue to use the old Times New Roman/16 points/blue.
In other words, those style templates are merely storage places where layout features are bundled together and simultaneously applied. Once you apply a certain style template to a document, the document will merely copy the layout features, and completely “forget” that those features once emanated from a certain style template.