In the users tab of the admin page, to the left you can see a list of your organisation’s users.
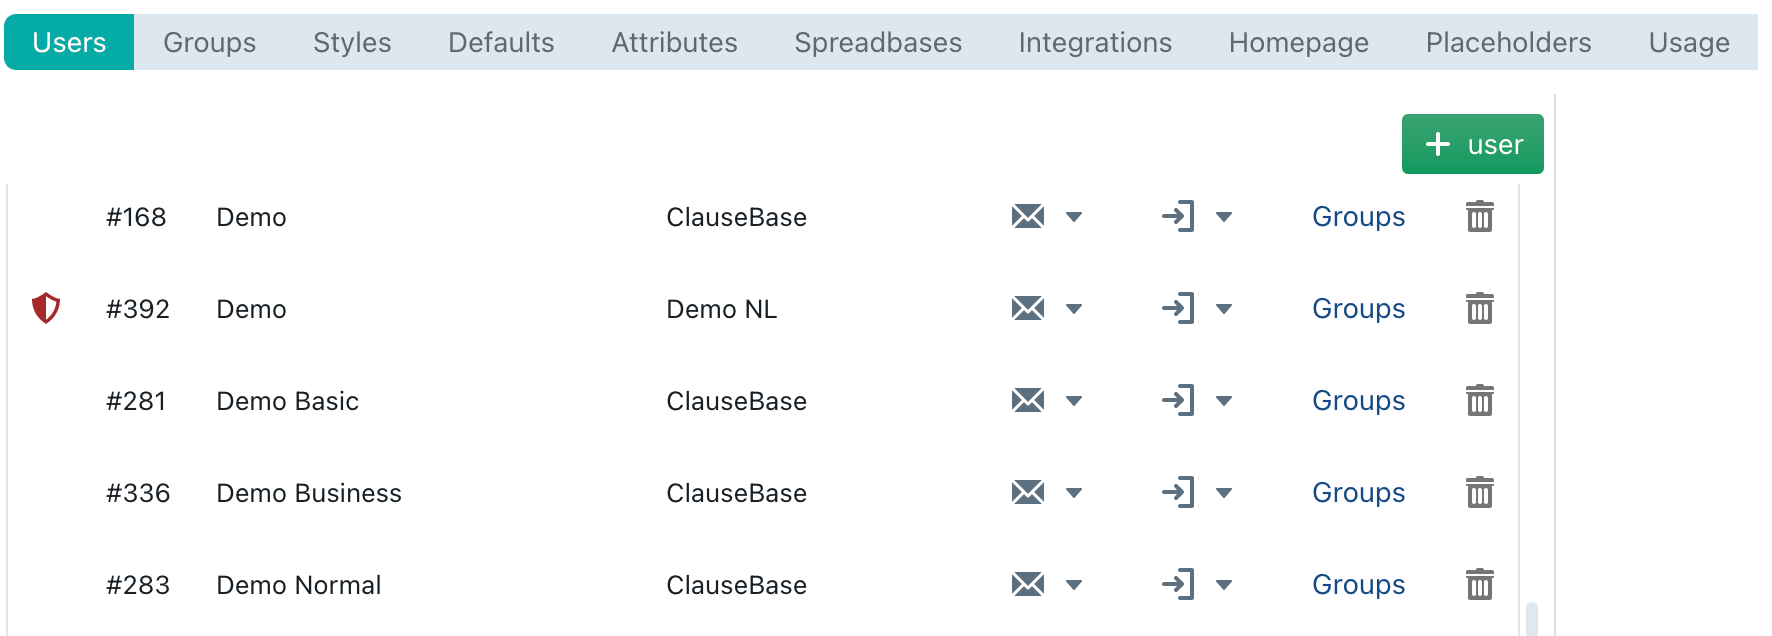
In this panel, you can:
- delete users by clicking the garbage can icon

- edit a user’s details by clicking the user itself
- create a new user by clicking the
 button (see the procedure below)
 - click on the
 to send a password-reset invitation email
 - click on the
 button to generate a unique login URL for this user
Generating such a unique login URL is not only handy for testing purposes (as an administrator, you can copy/pasting the URL into a separate browser and then log in as that user without having to know that user’s password), but also to quickly allow one of your users to login without requiring him/her to change the password.
However, be aware that this feature comes with certain security considerations.
First, you need to be aware that the unique URL that is generated needs to be used before the requested expiry moment (e.g., within 5 minutes). Once logged in, however, the login credentials will be stored in a secure cookie, which will remain valid for an entire month.
Second, you should also realize that this unique URL bypasses the two-factor authentication and single sign-on (SSO) that may have been enforced on the user’s account.
Creating a new user
After clicking the  button, you will be shown the following on the right:
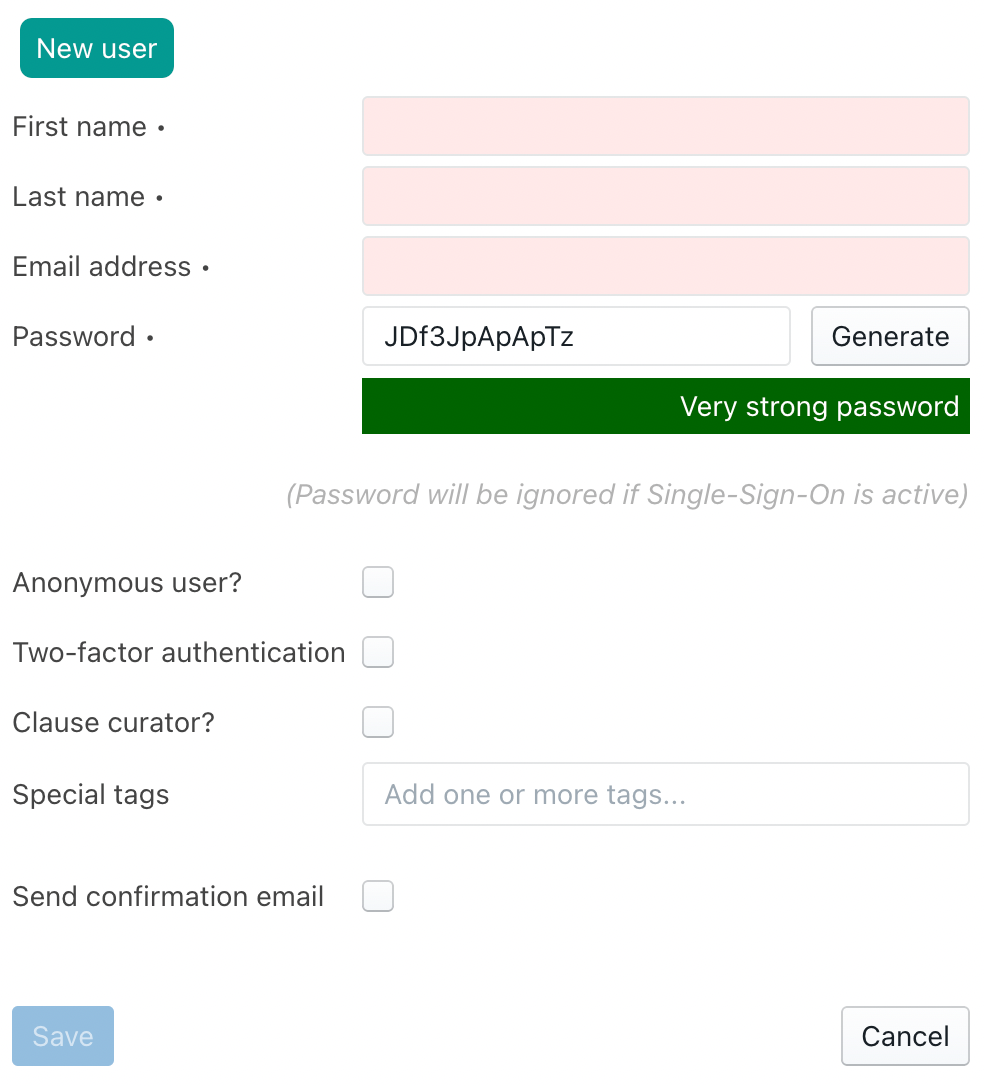
Password
ClauseBase will automatically generate a random password. You can leave this filled in and ask the user to change his password to one of his own choosing by using the recover password link on the login page.
Anonymous user
Ticking off the “anonymous user” checkbox makes this an account that can be used to fill in Q&A forms sent through a link to people without a ClauseBase account. Multiple anonymous users can be generated. This can be used e.g. for different language preferences (an anonymous user for each of English, Dutch and French for example) or to be able to separate Q&A forms sent to a specific client of your organisation, by creating an anonymous user tied to that client and using that when sending a Q&A form.
Two-factor authentication
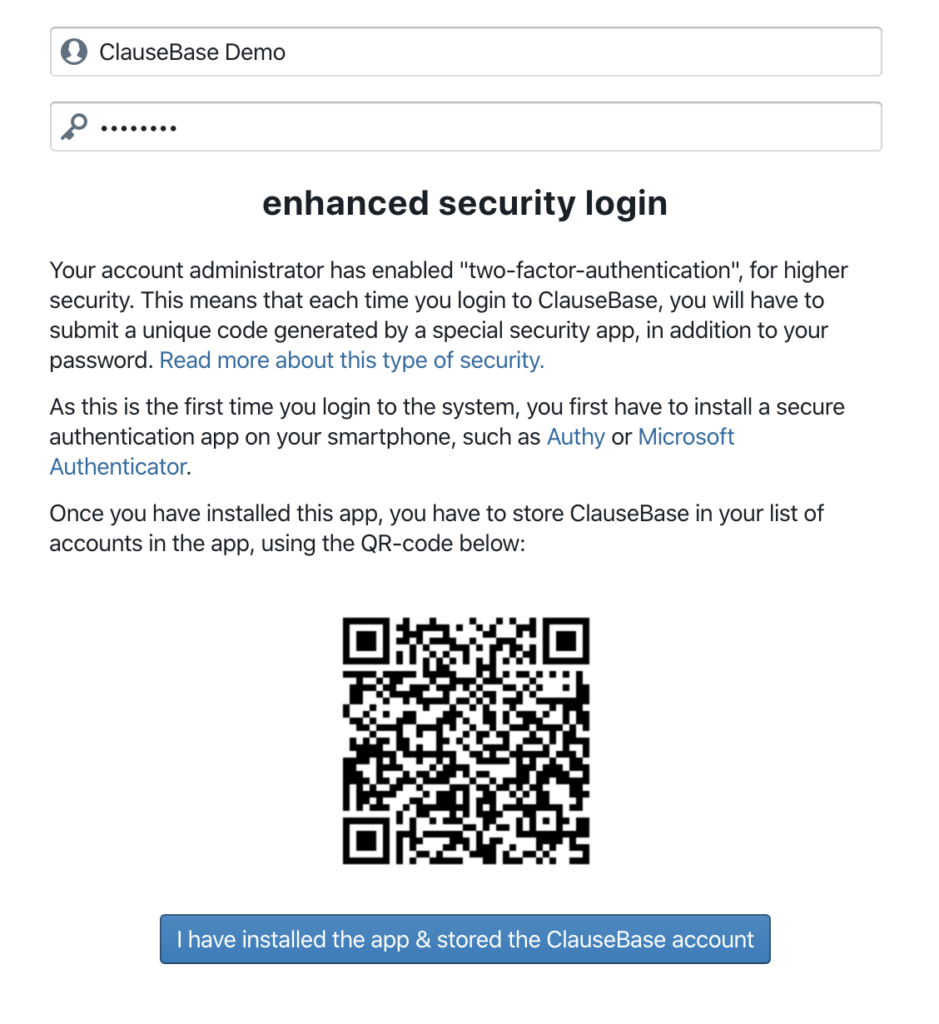
This setting enables an extra layer of security, called “two-factor authentication“. If this setting is enabled, then users will need to submit a security number, in addition to their password. This security number is generated by an app on the user’s smartphone, and changes every 30 seconds (a “one time password” / OTP) — similar to many security tokens for accessing your banking application.
The idea behind this additional layer of security, is that stealing passwords is just a little bit too easy for hackers. If, instead, you require someone to also have access to another device (physically separated from someone’s laptop/desktop computer), then fraudulent access suddenly becomes much more difficult.
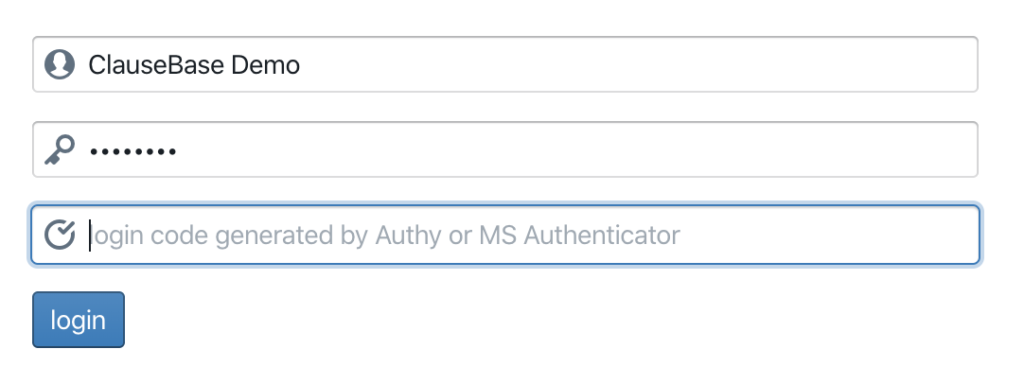
ClauseBase makes use of standard two-factor authentication, for which many different apps exist on both Android and iOS. We recommend to use either Authy or Microsoft Authenticator. Once the setting for two-factor authentication is activated for a particular user, this user will be instructed to download an app and scan a QR-code from within this app. The next time they login, they will then need to type in the QR-code generated by this app.
If a user has lost his/her QR-code (e.g., because the smartphone was lost and for some reason the app’s backup could not be restored), then simply deactivate the two-factor authentication setting for this user, save the user’s settings, and re-activate it. The user will then again be presented with the QR-code.
Clause Curator
This setting is mostly intended for interaction with ClauseBuddy (see Adding clauses). Essentially, it allows you to designate certain team members (typically senior legal professionals) as possible recipients for new clauses. So if you stumble over a good clause in a document in MS Word, but don’t have the time/expertise yourself to clean the clause, designate a good folder for it, etc. then you can send it to a colleague (curator), who will handle this for you.
Special tags
One or more special tags can be added to the user. These special tags can be used to tailor a Q&A form based on a user’s tag. A user having a certain tag can be used as a condition for showing/disabling a question, for example.
Saving the user
After having filled in (at least) first name, last name and email, you can click save and the user will be able to use his/her account. However, it is best to assign the user the correct rights prior to letting him use the account.
Editing user rights
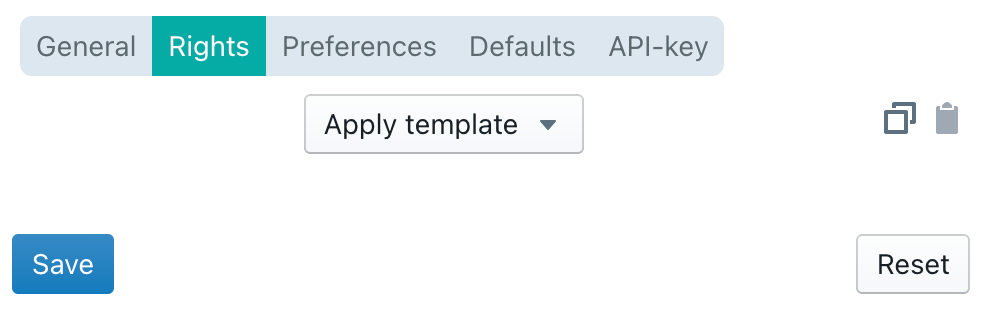
After having saved a new user – or after clicking on an existing user – you can navigate to the “rights” tab:
By default, a user will be made a “normal legal user”. You can apply a different standard user template by clicking “apply template” and choosing the appropriate option.
For each user, the rights they have can be configured manually in detail by (un)checking the relevant right under the rights tab and clicking save.
Furthermore, you can copy and paste an existing set of rights to any other user by clicking ![]() to copy and
to copy and ![]() to paste.
to paste.
Any changes you have made can be reset by pushing the “reset” button.
Preferences
Under the “preferences” tab, you can edit a user’s preferences regarding units (metric or imperial) and language.
If multiple languages are selected, the user will see any documents or files he opens by default in the language listed on top – if available. If such language is not available, ClauseBase will show the document or file in the language listed next, et cetera.
Styling
Default styles (as created under the styles tab of the admin page) can be configured on user level as well. Select the appropriate styles here and click save.
API-key
Allows you to create a key (i.e., a kind of password) for use in server-to-server communication. This is an advanced subject, for programmers only.